How to Clean a Milk Frother (Expert Guide for Every Type)
A good milk frother is the secret to café-style drinks at home. If you love making frothy cappuccinos, silky matcha lattes, or creamy hot chocolate, this kitchen gadget makes the magic happen. But over time, milk residue, burnt film, and bacteria can turn that magic into a maintenance nightmare, especially if you’re not cleaning it correctly.
We get asked this a lot at Zulay Kitchen: How do I clean my frother? And not just a wipe-and-go rinse, but a proper, safe, performance-boosting clean. After years of testing, developing, and perfecting frothers, from handheld battery-operated wands to automatic jug frothers and espresso machine steam wands, we felt the internet needed a definitive guide.
This post is your comprehensive breakdown of how to clean every type of milk frother, what tools to use, and how to keep yours in tip-top shape for years of flawless foam.

Why Cleaning Your Milk Frother Matters
Let’s start with the “why.” If you’ve ever noticed your frother isn’t foaming like it used to, smells funky, or leaves a burned taste in your latte, chances are it needs more than a rinse. Milk is rich in proteins, sugars, and fats, and when heated or frothed, it creates a residue that clings to metal, nonstick coatings, and mesh filters. If left untreated, this buildup can:
-
- Attract bacteria and mold
- Diminish foam quality
- Burn onto heating elements
- Cause mechanical wear
- Alter the taste of your drink
According to WebMD, improperly cleaned milk can spoil quickly and leave behind sticky proteins that cling to surfaces even after reheating. That’s why regular cleaning is essential, not just for hygiene, but for optimal performance.
Different Types of Milk Frother
First, know your milk frother type. Not all milk frothers are built the same. To clean yours correctly, you need to know what kind you have:
1. Manual Frothers
Manual frothers are the simplest, most analog option in the frothing world. Typically resembling a French press, they consist of a heat-safe pitcher and a mesh-plunger mechanism that creates foam through rapid, manual pumping. Since they don't require electricity or batteries, they’re ideal for minimalist kitchens, travel use, or off-grid coffee setups. Many are dishwasher-safe, which makes cleaning relatively straightforward.

How to Clean a Manual Milk Frother
1. Disassemble the Plunger. Unscrew or pull apart the mesh layers from the plunger rod.
2. Wash with Warm Soapy Water. Clean the pitcher with a sponge or bottle brush. Pay attention to the mesh as milk can get trapped in between.
3. Soak for Stubborn Buildup. If milk residue hardens, soak the parts in a mix of white vinegar and warm water for 15 minutes.
4. Rinse and Air Dry. Dry the mesh fully before reassembling it to prevent rust or mildew.
Zulay Says: If dishwasher-safe (check the manual), toss the parts in the top rack, but hand-washing prolongs their lifespan.
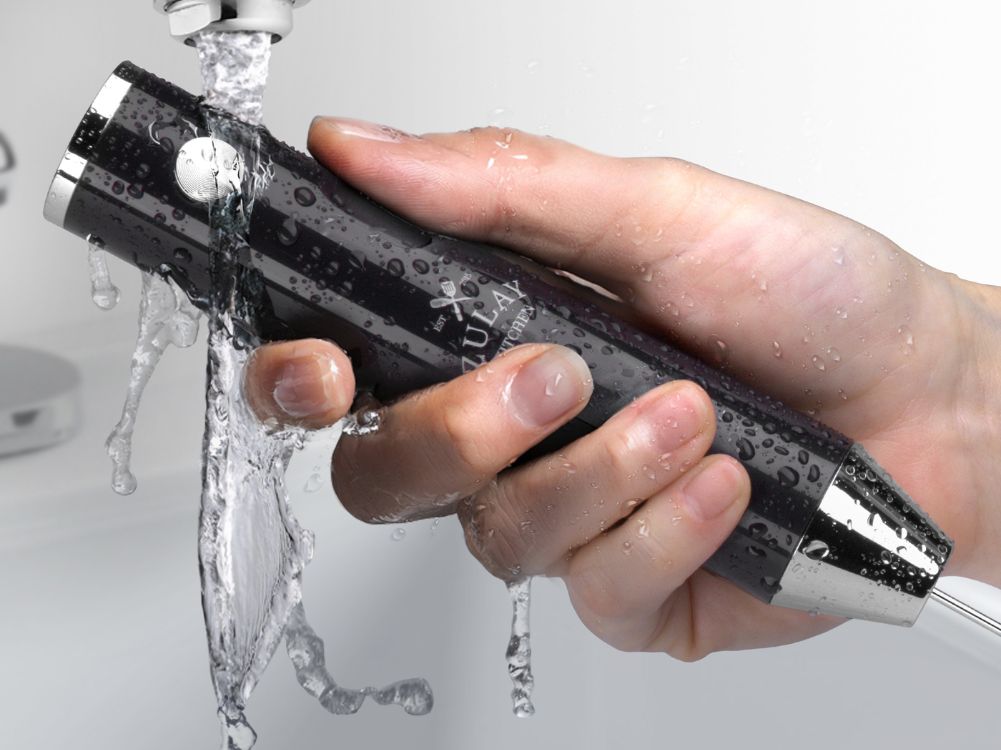
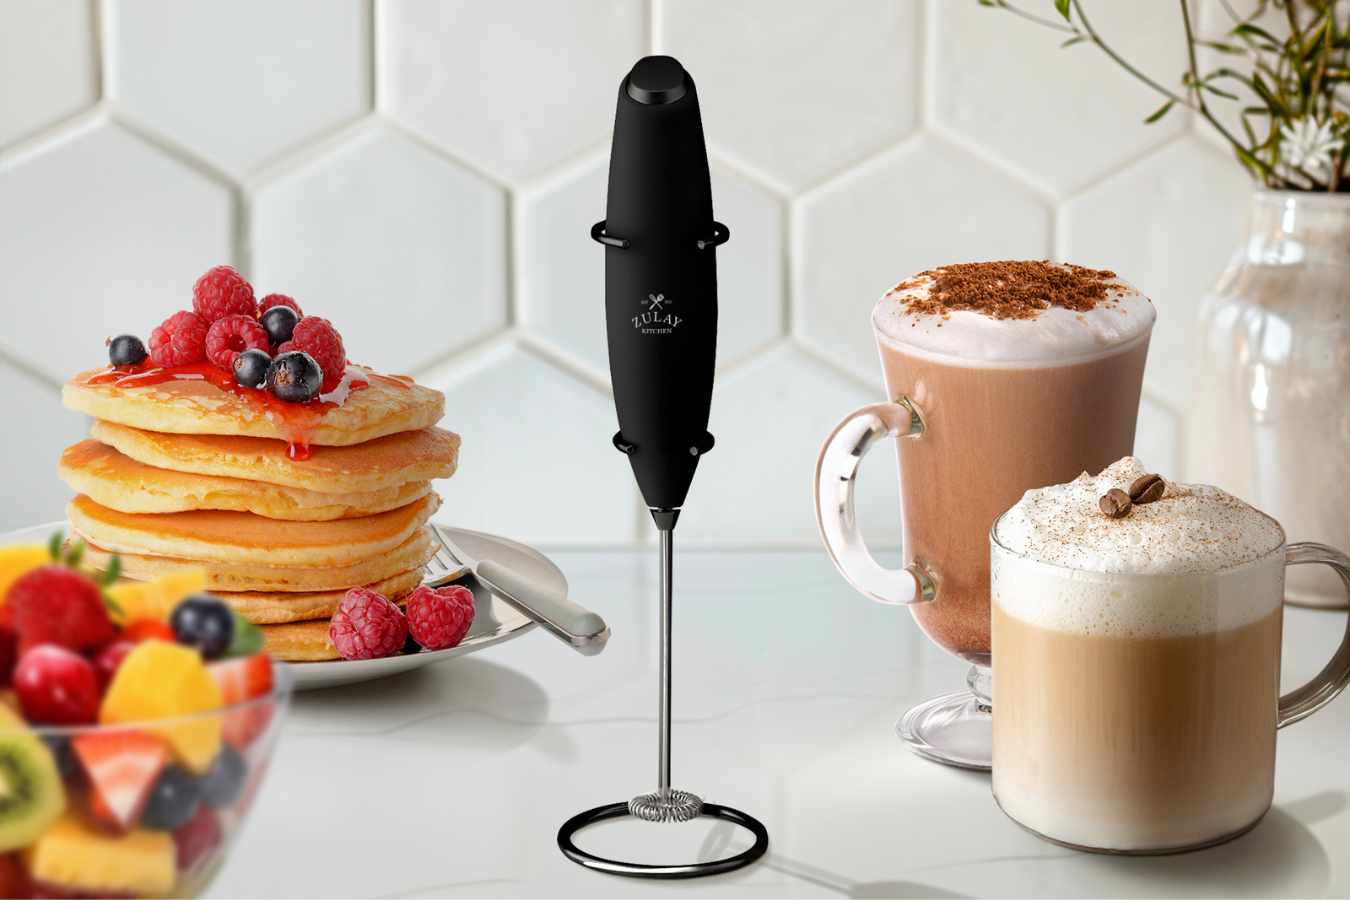
2. Handheld Electric Frothers
Handheld electric frothers are compact, wand-style tools powered by either replaceable batteries or a built-in rechargeable motor. Designed for convenience and speed, these frothers are excellent for creating quick foam in small batches. The whisk is typically a small stainless steel coil that spins rapidly, aerating the milk directly in your cup or container. While lightweight and easy to store, these devices require consistent cleaning at the whisk attachment, which is prone to dried milk buildup if not rinsed immediately.
Zulay Kitchen’s Rechargeable Milk Frother is a prime example, offering powerful performance with a sleek design and detachable whisk for easier maintenance.

How to Clean a Handheld Milk Frother
1. Rinse Immediately After Use. Fill a cup with warm soapy water. Turn on the frother for a few seconds to clean the whisk. Rinse it again in clean water.
2. Wipe the Handle. Use a damp cloth to wipe the motor base. Never submerge the handle or let water get into the battery compartment.
3. Deep Clean the Whisk. Soak the whisk in a vinegar-water solution once a week. Use a soft toothbrush to remove milk residue trapped around the coils.
4. Dry Properly. Leave the whisk to air dry completely before storing.
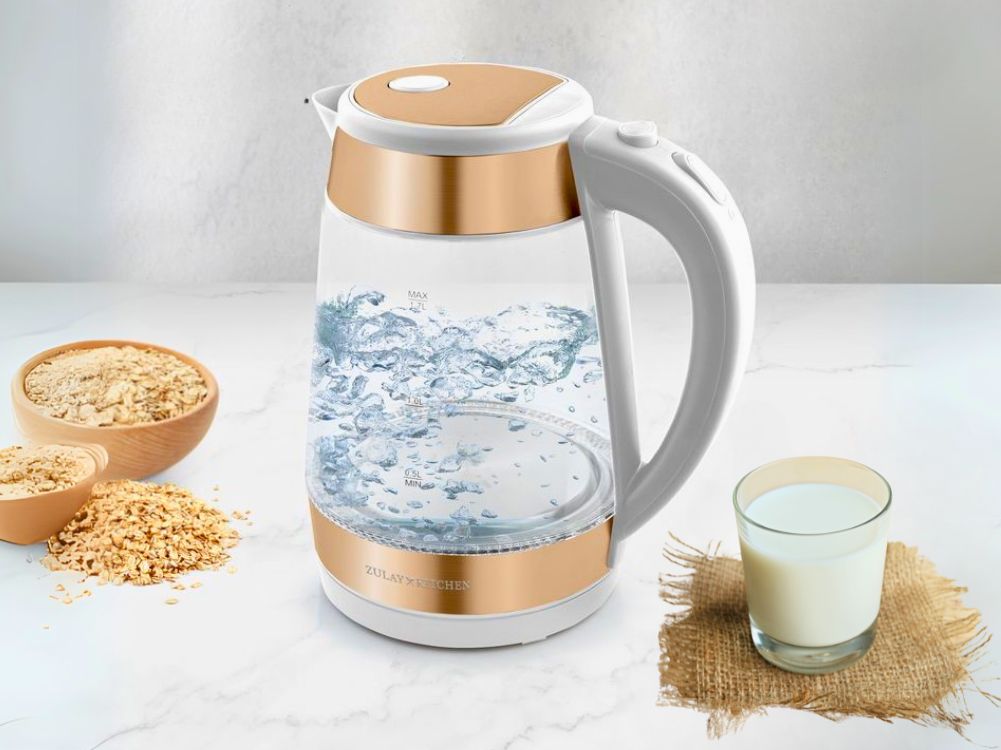
3. Automatic Frothers
Automatic milk frothers are all-in-one countertop appliances that both heat and froth milk at the touch of a button. These units feature an internal jug and a detachable or magnetic whisk that spins to create microfoam.

How to Clean an Automatic Milk Frother
1. Unplug and Let It Cool. Always let the unit cool completely and unplug before cleaning.
2. Disassemble Removable Parts. Most automatic frothers have a whisk, lid, and jug. Take them apart carefully.
3. Soak and Wipe the Jug. Fill the jug with warm water and a drop of dish soap. Let it soak, then wipe it with a non-abrasive sponge. Avoid steel wool.
4. Clean the Whisk Thoroughly. Check if milk is stuck in the magnetic spinner or gear. Use a small brush or toothpick to remove buildup.
5. Dry Before Reassembling. Always air dry completely to avoid mold growth inside sealed compartments.
Zulay Says: If your frother has a nonstick coating, never use anything abrasive since scratches will cause milk to stick even more.
4. Steam Wands (in Espresso Machines)
Steam wands are professional-grade frothers attached to espresso machines. They function by forcing pressurized steam into milk, creating a velvety microfoam ideal for lattes, cappuccinos, and other espresso-based drinks. These tools deliver unmatched texture but also come with the steepest learning curve and the highest maintenance needs.
Because steam wands reach high temperatures and inject air directly into the milk, any leftover residue quickly bakes onto the metal surface or clogs the steam tip. If not purged and wiped down immediately after each use, they can harbor dried milk solids that are difficult to remove and pose a hygiene risk. Proper technique and routine cleaning are critical to both flavor and safety.

How to Clean a Steam Wand
1. Purge After Every Use. Immediately after steaming, blast steam through the wand to clear internal milk.
2. Wipe While Hot. Use a damp cloth or microfiber cleaning towel to wipe off milk residue. Do it right away because once it dries, it’s ten times harder to remove.
3. Soak the Tip. If clogged, soak the tip in a solution of vinegar and hot water. Use a needle to clean out the steam hole carefully.
4. Brush the Wand Regularly. A dedicated steam wand brush helps scrub off hardened deposits around the nozzle.
5. Final Purge. Always run steam again after deep cleaning to remove leftover cleaning fluid.
Zulay Says: Never soak the entire steam wand, just the tip.
Daily vs. Deep Cleaning: What’s the Difference?
Daily cleaning is quick: rinse and wipe immediately after use. Deep cleaning goes further. It addresses hidden buildup inside tiny crevices, whisk joints, or heating coils. Both matter. If you froth milk daily, aim for:
- Daily cleaning after each use
- Deep cleaning every 5–7 days
- Descaling once a month for frothers with heating plates

Tools & Products That Make Frother Cleaning Easier
If you’re serious about keeping your frother in pristine condition, invest in a few dedicated tools:
- Food-safe descaler (for frothers with heating elements)
- Bottle brushes (reach into tight jug corners)
- A toothbrush or steam wand brush
- White vinegar + baking soda
- Soft microfiber towels
- Mild, fragrance-free dish soap
5 Practices to Extend the Life of Your Milk Frother
1. Clean Immediately After Every Use
Milk residue begins to dry and harden within minutes, especially on heating elements and whisks. Always rinse and clean your frother right after use, whether it’s manual, handheld, or automatic.
2. Avoid Frothing Sugary or Flavored Milk in Nonstick Jugs
Sweetened milk (such as those used in flavored lattes or hot chocolate) can easily scorch when heated in automatic frothers with nonstick coatings. This leads to a burnt residue that damages the coating and is difficult to remove. Instead, heat flavored milk on the stove and froth it separately if needed.
3. Always Store Your Frother Dry
This is especially important for automatic frothers and handheld models with battery compartments or USB ports. Moisture promotes mold, bacterial growth, and corrosion.

4. Replace Worn-Out Whisks Every 6–12 Months
The tiny whisk attachments, particularly in handheld frothers, experience wear over time. A bent, weakened, or rusting whisk won’t create proper foam and may even scratch the interior of your milk container.
5. Descale Monthly If Using Hard Water in Automatic Frothers
Mineral buildup from hard water can interfere with the frother’s heating performance and sensor accuracy. If you notice a drop in efficiency or strange smells, descaling might be overdue. Use a food-safe descaling solution or a 1:1 vinegar-water mix monthly to dissolve scale buildup. Always rinse thoroughly afterward to remove any acidic residue.
When to Replace Your Frother
Even with regular cleaning and careful maintenance, no milk frother lasts forever. Over time, you may notice the motor weakening or slowing down, the whisk becoming bent or warped, or the heating function no longer working efficiently. Persistent internal odors, even after deep cleaning, or a noticeable drop in foam quality are also signs that your frother might be past its prime. The good news is that a well-maintained, high-quality frother should still give you several years of reliable performance before needing to be replaced.
Zulay's Final Thoughts
Cleaning your milk frother might not be as fun as crafting a foamy matcha latte, but it’s just as essential. At Zulay Kitchen, we design tools that make cleaning easy and coffee joyful. Our milk frothers are crafted for real-life use and long-term durability. Because we believe that kitchen happiness starts with clean tools (and great coffee!).
Check Out Zulay Kitchen Frothers & Tools
Ready to upgrade your frother? Explore Zulay Kitchen’s collection of milk frothers and coffee essentials, designed to make your daily routine foam-tastic! #kitchenhappiness starts here!
FAQs About Cleaning Milk Frothers
How often should I clean my milk frother?
You should rinse or wipe down your milk frother after every single use to prevent milk proteins and sugars from drying and sticking to the surfaces, which can be hard to remove later. A more thorough, deep cleaning should be done weekly to keep internal parts free from residue buildup, especially for automatic and steam frothers.
Can I put my milk frother in the dishwasher?
It depends on the type. Manual frothers, like French press-style pitchers, often have dishwasher-safe components. However, you should never place electric or battery-operated parts, including the handles of handheld frothers or the base units of automatic frothers, into the dishwasher or submerge them in water. Always check the manufacturer'scleaning instructions to avoid damaging your device.
What if milk gets burnt onto my frother?
Burnt milk residue can be stubborn, but not impossible to remove. Start by soaking the affected area in a mixture of equal parts white vinegar and water for about 15–20 minutes. This will help loosen the proteins and sugars. Then, use a soft sponge or a non-abrasive brush to gently scrub away the buildup.
Is it safe to use vinegar or baking soda on my frother?
Yes, both vinegar and baking soda are safe, natural cleaning agents that work well on milk residue and odors.
Why does my frother stop making foam?
If your frother suddenly stops producing thick, creamy foam, the issue is likely due to dried milk residue clogging the whisk or mesh. A weak or aging motor and worn-out whisk attachments are also common culprits, especially in handheld or heavily used models. Before replacing any parts, try giving the frother a thorough deep clean, paying special attention to the whisk and heating elements. If the problem persists, it may be time to replace the whisk or the entire unit.

Leave a comment
This site is protected by hCaptcha and the hCaptcha Privacy Policy and Terms of Service apply.