How to Froth Milk With a Frother: A Step-by-Step Guide
Nothing beats the creamy, velvety texture of perfectly frothed milk atop your favorite coffee drink. Whether you’re crafting a cappuccino, latte, or macchiato, the magic lies in the froth. Frothing milk can transform your homemade coffee into a café-quality experience, bringing the luxury of a coffee shop into the comfort of your home. In this comprehensive guide, we'll explore the ins and outs of frothing milk with a frother, providing tips and techniques to achieve the perfect froth every time.
Why Froth Milk?
Frothing milk isn’t just about adding a luxurious texture to your coffee; it’s an essential component that enhances the flavor and overall experience. Here are a few reasons why frothing milk is a game-changer:
-
- Texture and Mouthfeel: Frothed milk has a creamy and airy texture that makes every sip delightful.
- Enhanced Flavor: Frothing milk helps to release its natural sweetness, improving the overall flavor of your coffee.
- Presentation: A beautifully frothed milk topping can turn a regular coffee into a visually appealing masterpiece.
- Versatility: Frothed milk can be used in various ways, from hot drinks like lattes and cappuccinos to cold beverages like iced lattes.
Types of Milk for Frothing
Before learning how to froth milk perfectly, it is important to understand which types of milk work best. The type of milk you choose directly affects the texture, creaminess, and stability of your froth. Here are the most common options and what to expect from each:
Whole Milk
Whole milk is the gold standard for frothing due to its higher fat content, usually around 3.5%. The fat helps create a rich, creamy foam with a smooth mouthfeel, making it ideal for lattes, cappuccinos, and specialty coffee drinks. The protein in whole milk also stabilizes the bubbles, giving the froth a velvety texture that lasts longer. If you want a luxurious, café-style froth, whole milk is the best choice.
2% Milk
2% milk, also called reduced-fat milk, produces a froth that balances creaminess with a slightly lighter texture. While it does not achieve the same richness as whole milk, it still produces stable microfoam suitable for lattes and cappuccinos. Many people prefer 2% milk because it offers a good compromise between indulgence and lower fat content.

Skim Milk
Skim or nonfat milk creates a light, airy froth with larger bubbles. The lack of fat allows the milk to aerate more easily, resulting in foam that is fluffy but less creamy. Skim milk froth works well for those who prefer a lighter texture or want to reduce calories, but the mouthfeel will be thinner compared to whole or 2% milk.
Non-Dairy Milk
Non-dairy milk alternatives, such as almond, soy, oat, and coconut milk, can also be frothed, but results vary based on protein and fat content. Oat milk is particularly popular because it produces a creamy, stable froth similar to dairy milk and has a naturally sweet flavor that complements coffee. Soy milk froths well too, though it can sometimes separate if overheated. Almond and coconut milk may produce froth with larger bubbles and slightly less stability. Choosing a barista blend of non-dairy milk often gives the best results for texture and flavor.
When frothing any milk, fresh and cold milk produces the most consistent foam. Warming milk too quickly or using milk close to its expiration date can affect froth quality.
Tools You’ll Need
To froth milk at home, you’ll need the following tools:
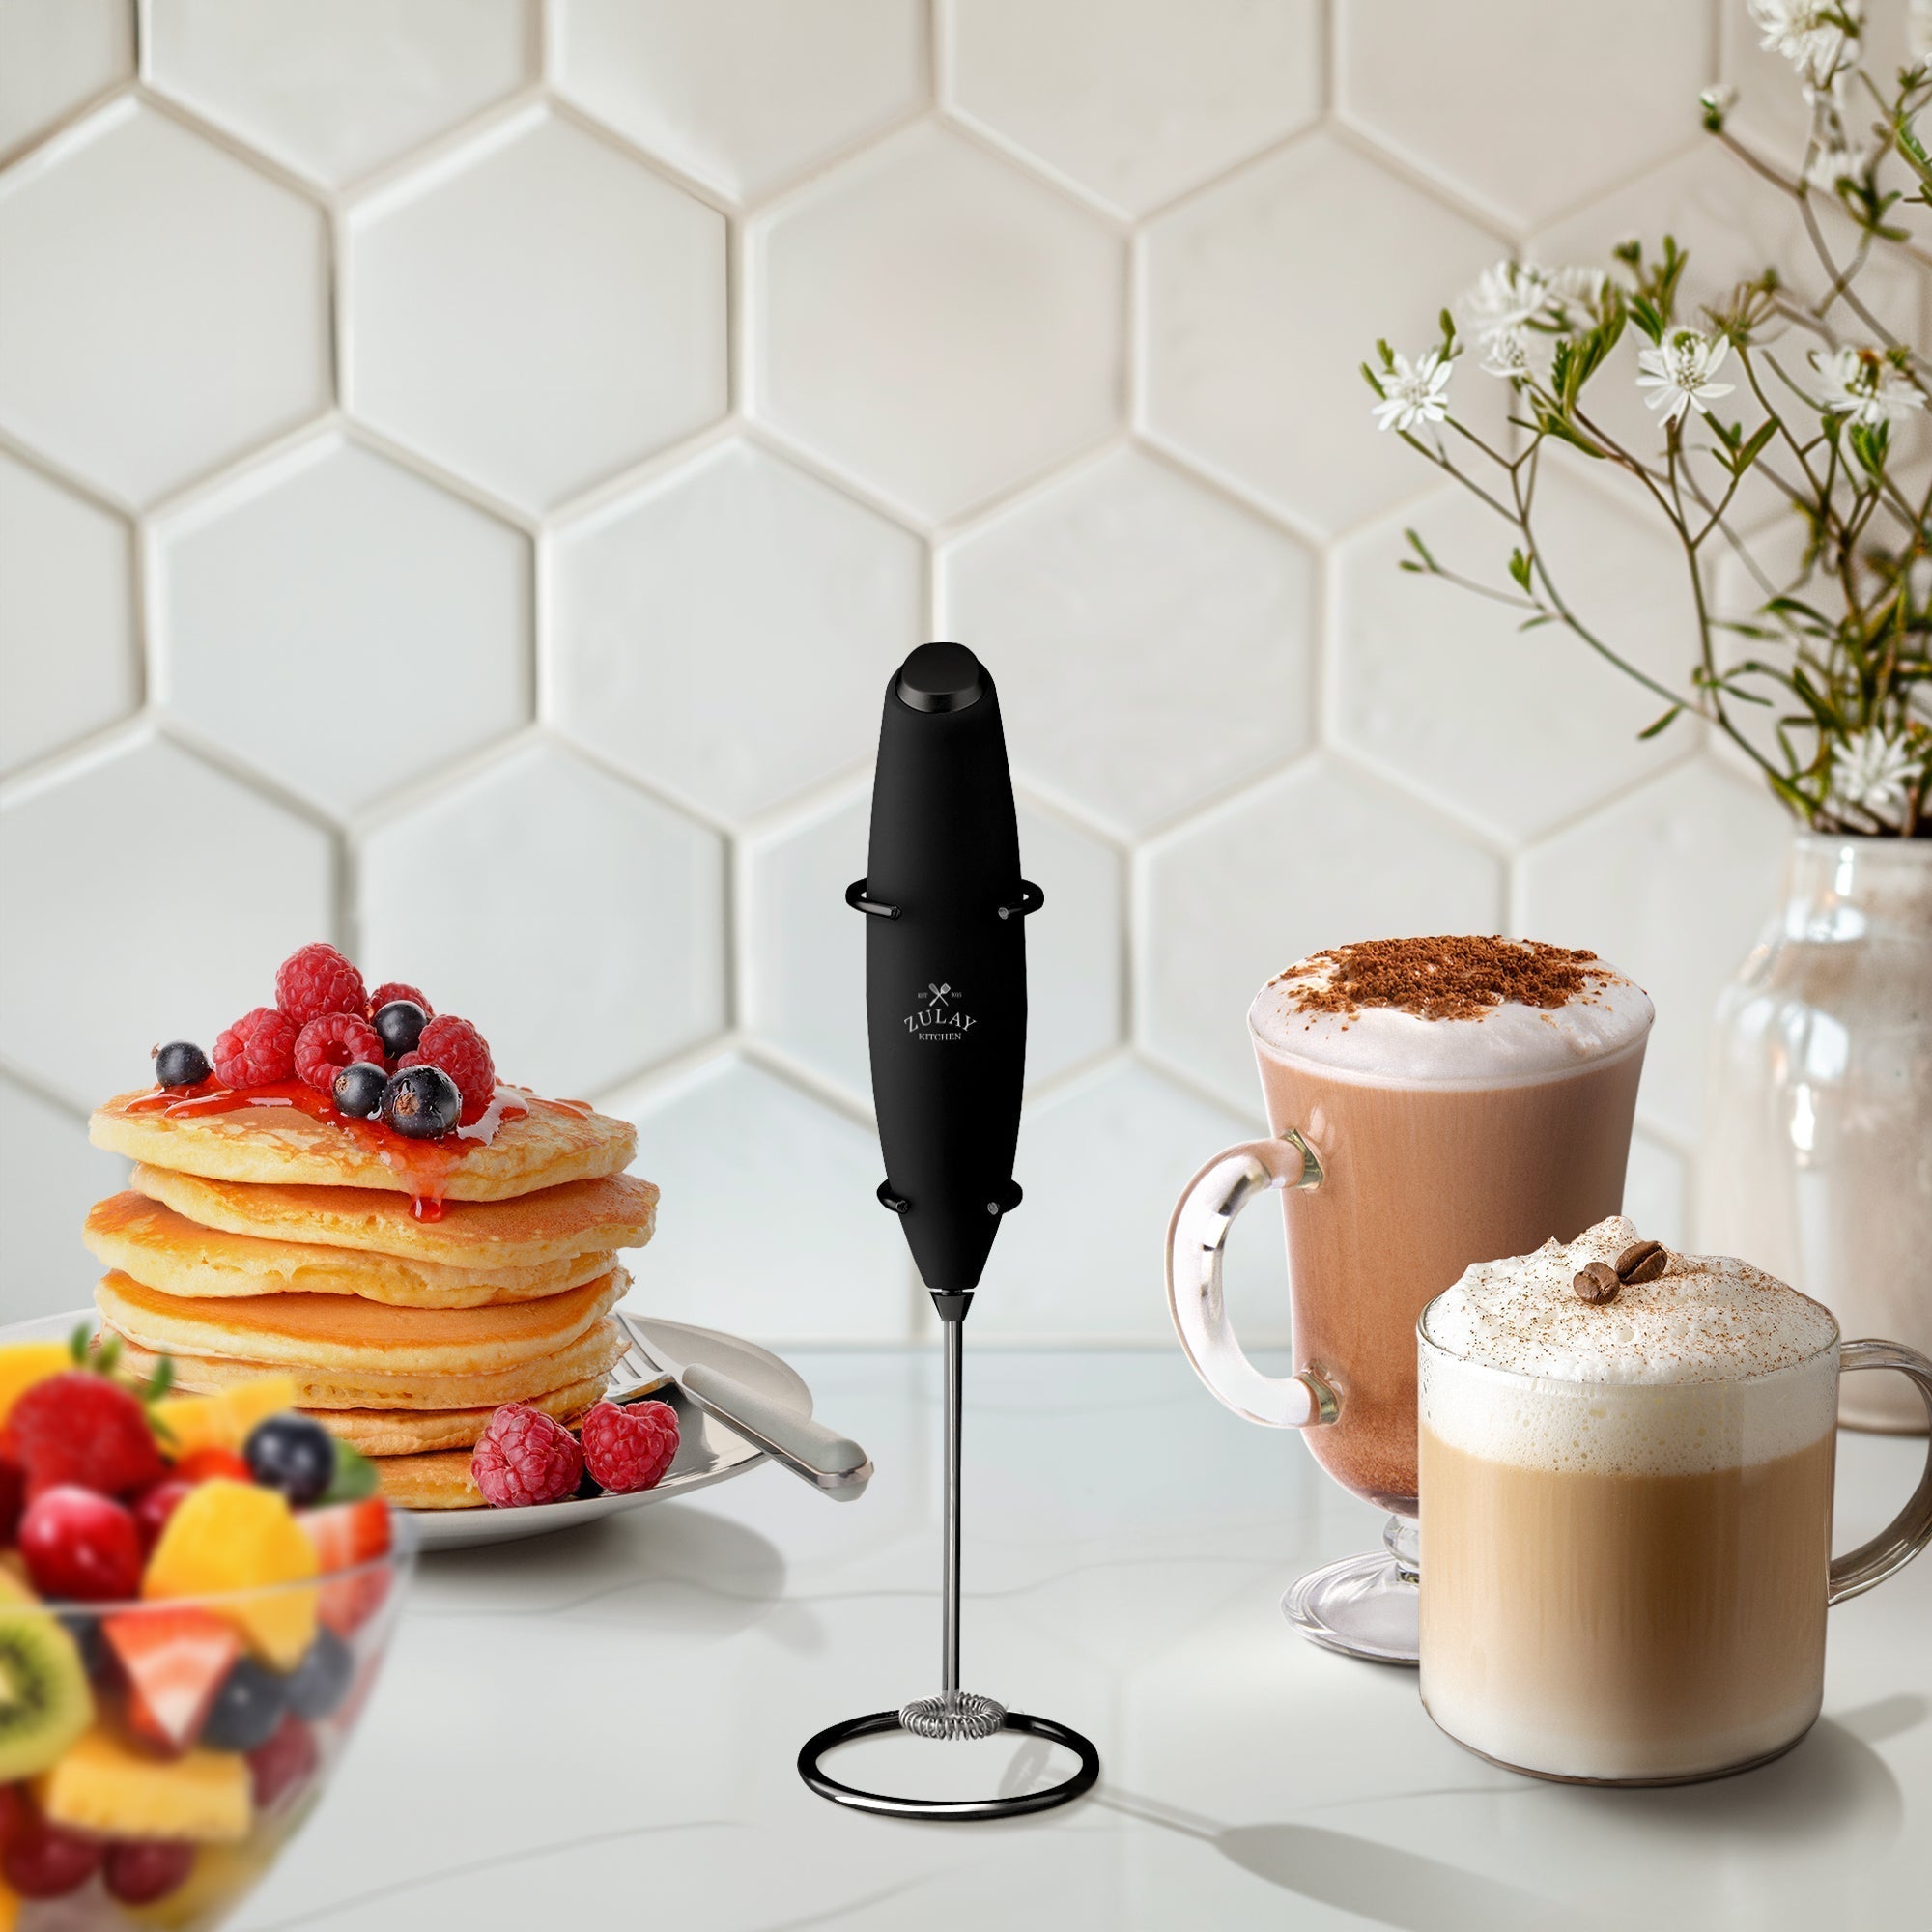
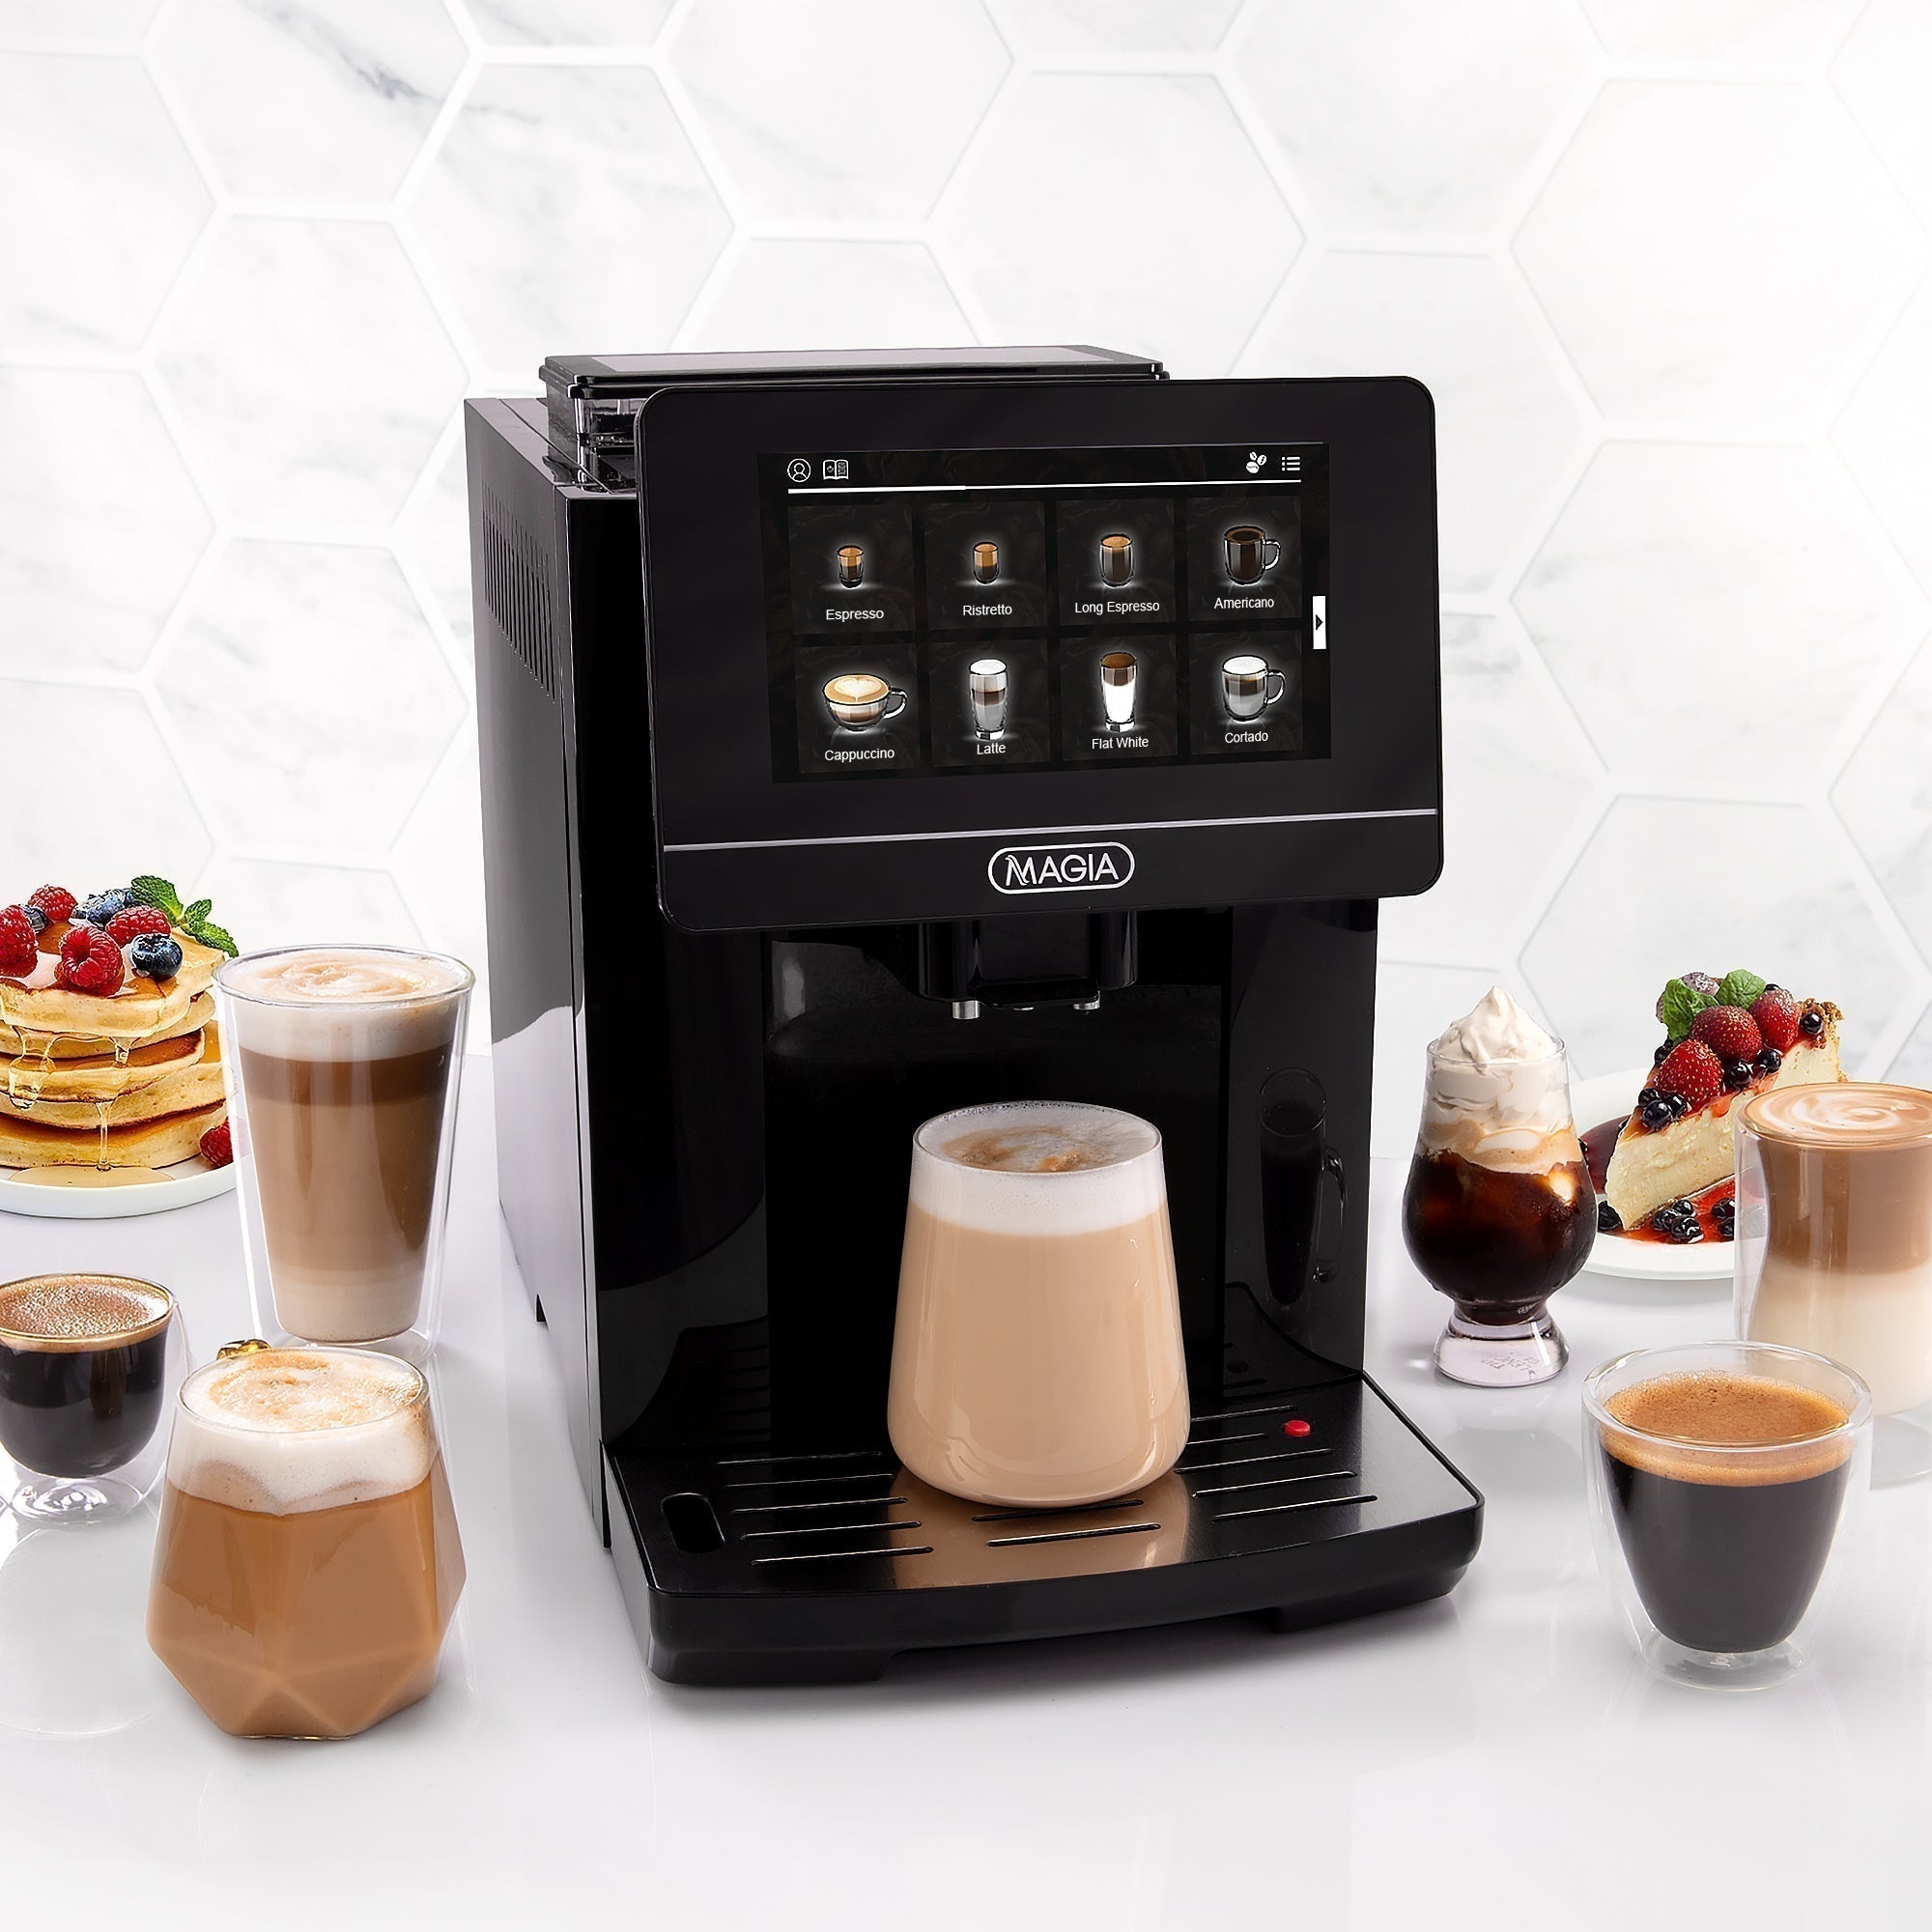
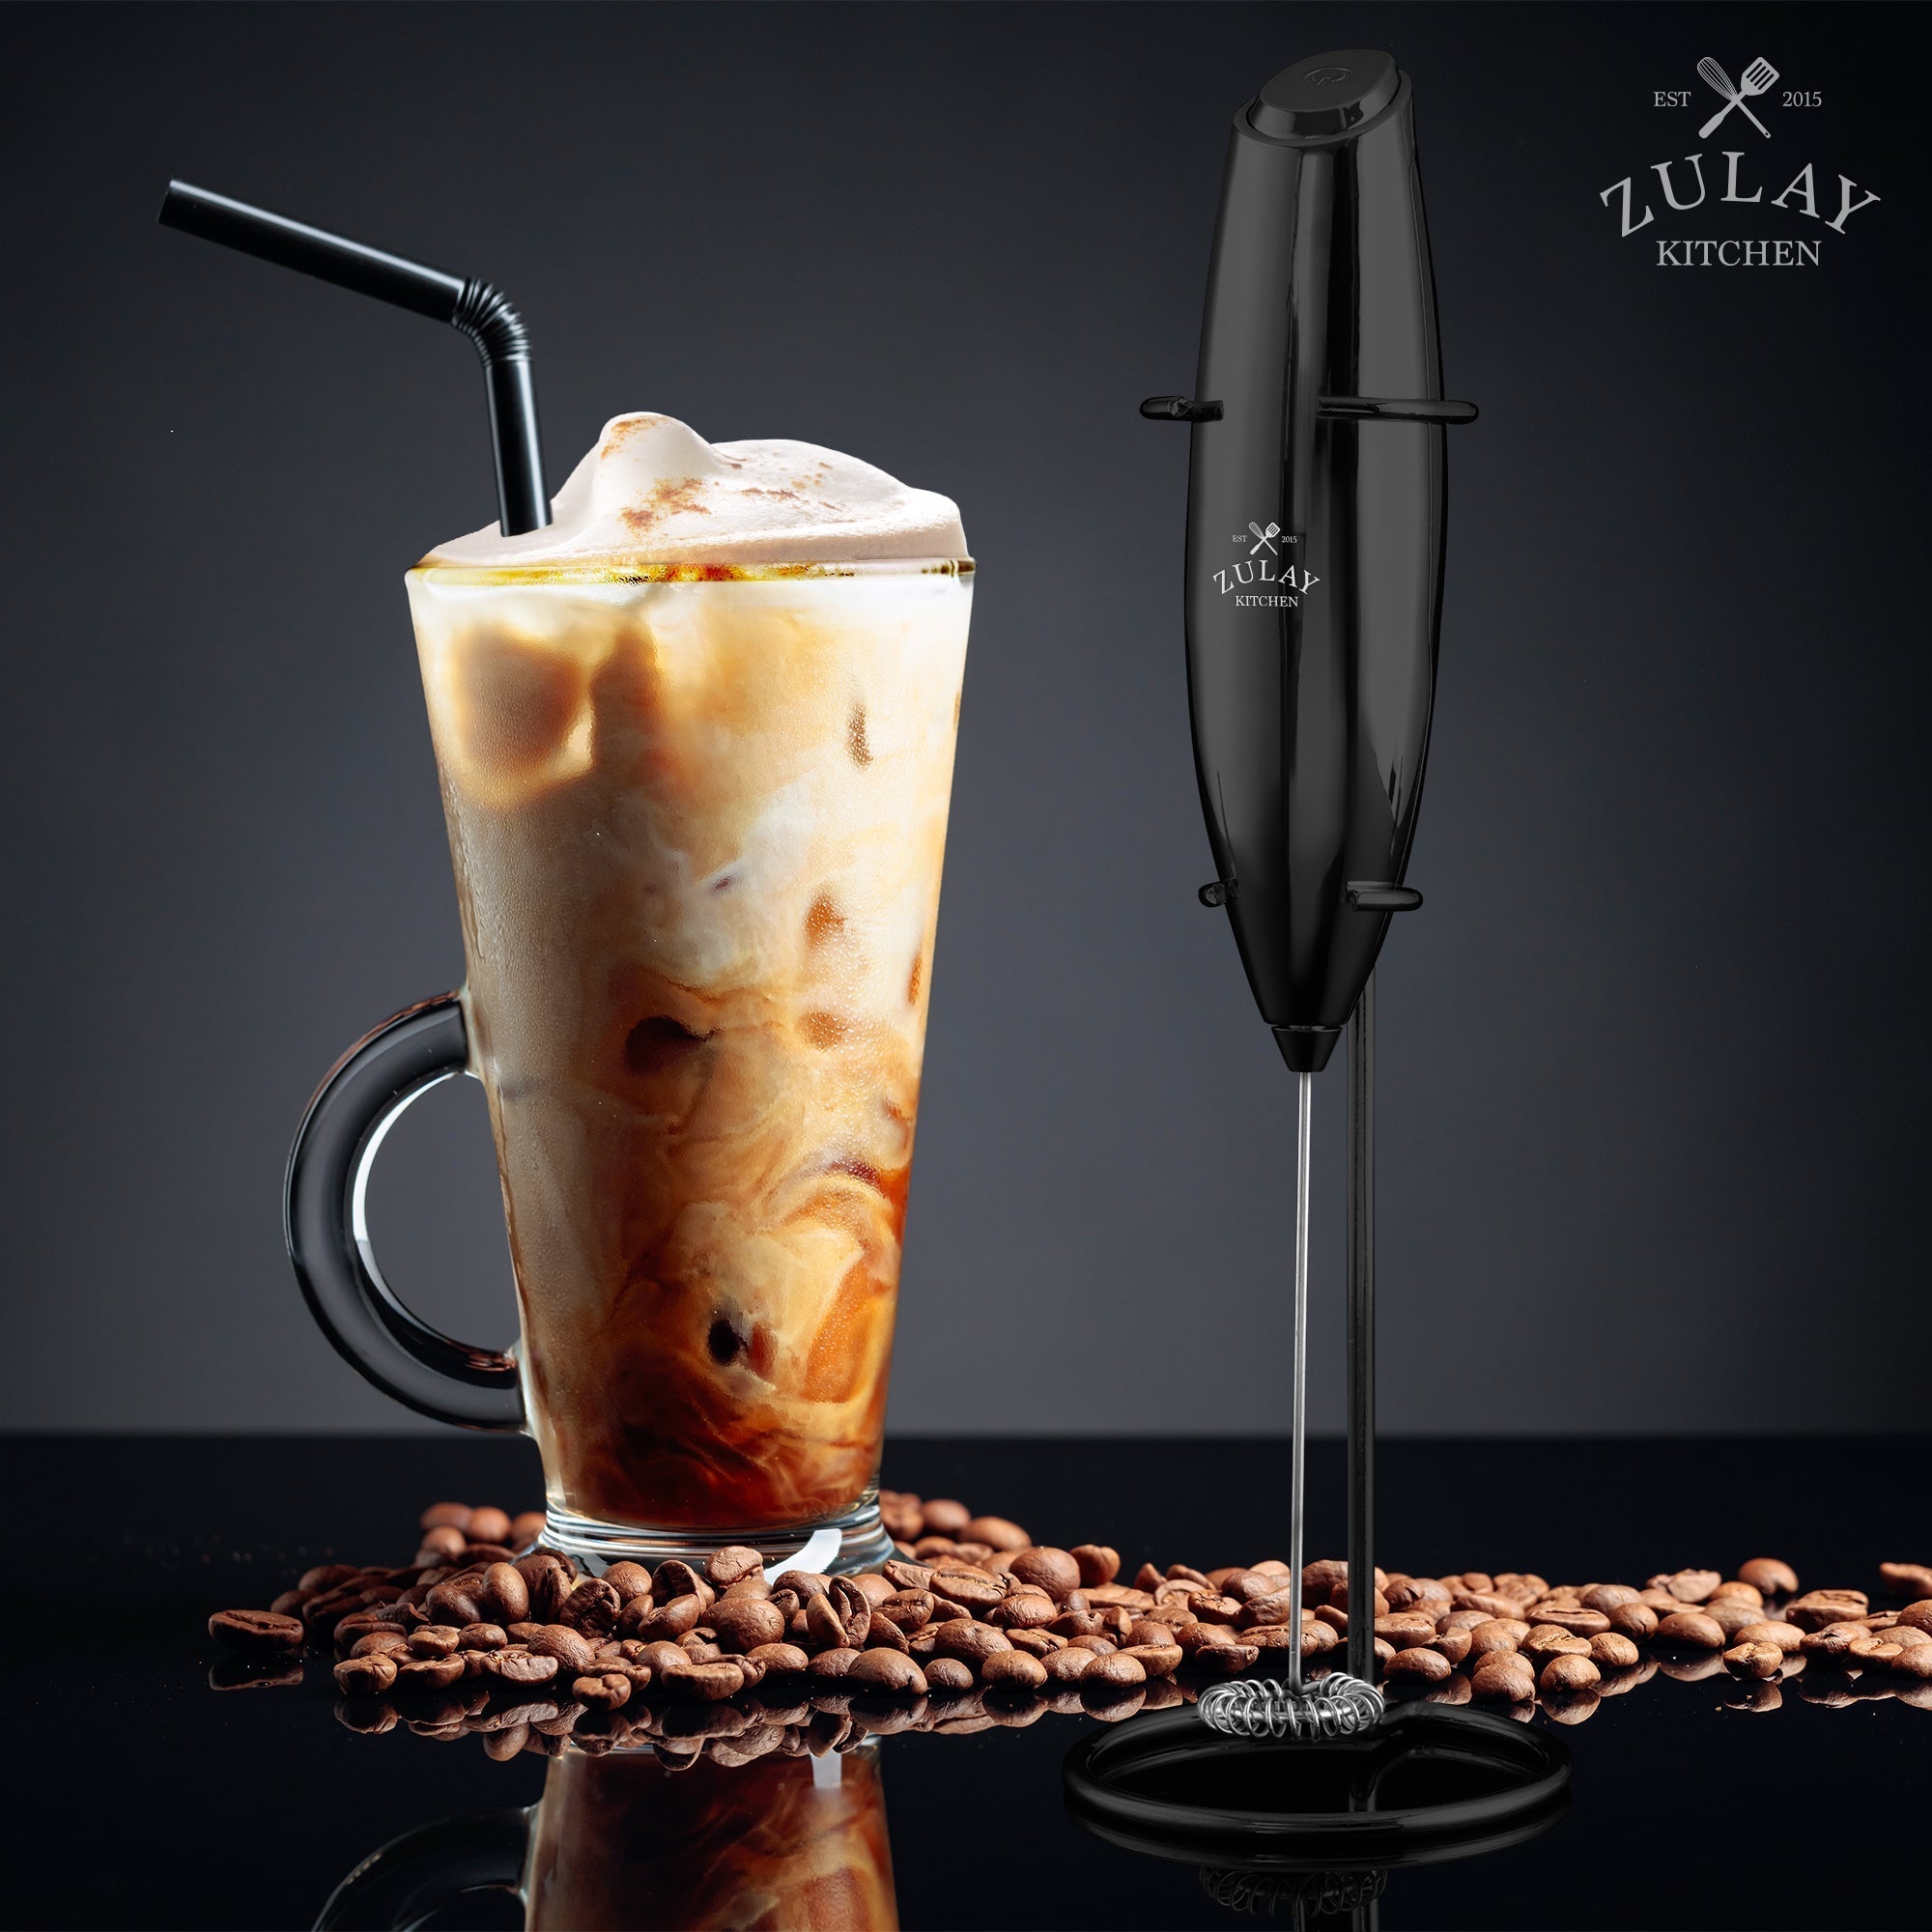
- Milk Frother: There are various types of milk frothers, including handheld, electric, and manual frothers. Choose one that suits your needs and preferences.
- Milk Jug: A stainless steel frothing pitcher is ideal for frothing milk, as it helps control the pouring and creation of latte art.
- Thermometer (Optional): Helps heat the milk to the optimal temperature (between 150-155°F).
Step-by-Step Guide to Frothing Milk
To start frothing milk, follow this two-step process:
Prepare Your Milk
Pour the desired amount of milk into your frothing jug. For best results, fill the jug no more than halfway to allow space for the milk to expand as it froths.
Heat the Milk
Heat the milk to the optimal temperature range of 150-155°F. You can do this using a thermometer or heating the milk until it’s hot but not boiling. If you don’t have a thermometer, a good rule of thumb is to heat the milk until it’s warm to the touch.
Frothing with a Handheld Frother
If you are using a handheld frother:
-
- Submerge the Frother: Place the frother’s whisk end into the milk, submerging it fully.
- Turn On the Frother: Switch on the frother and move it up and down in the milk. This motion helps to incorporate air and create froth.
- Watch the Volume: Continue frothing until the milk has doubled in volume and has a thick, creamy consistency. This usually takes about 30-60 seconds.
Frothing with an Electric Frother
For electric frother, you need to:
-
- Pour the Milk: Pour the milk into the frother up to the indicated line.
- Select the Setting: Many electric frothers have different settings for hot and cold froth. Choose the appropriate setting based on your preference.
- Start Frothing: Turn on the frother and let it do its work. Most electric frothers will automatically turn off once the milk is perfectly frothed.

Frothing with a Manual Frother
If you’re frothing with a manual tool, you must:
-
- Pump the Frother: If you’re using a manual frother, place the lid on the jug and pump the handle up and down vigorously. This action forces air into the milk, creating froth.
- Check Consistency: Continue pumping until the milk reaches your desired frothiness. This process usually takes about 30-60 seconds.
Tips for Perfect Froth
-
- Use Fresh, Cold Milk: Cold milk froths better than warm milk. For best results, use fresh milk straight from the fridge.
- Be Consistent: Consistent motion is critical when using a handheld or manual frother. Avoid stopping and starting to ensure smooth, creamy froth.
- Avoid Overheating: Overheating the milk can cause it to scorch and affect the froth’s texture. Aim for the optimal temperature range.
- Experiment with Milk Types: Different types of milk froth differently. Experiment with various types to find the one that works best for you.
Using Frothed Milk in Your Coffee
Now that you’ve mastered the art of frothing milk, it’s time to use it in your favorite coffee drinks. Here are a few popular options:
- Cappuccino: A classic cappuccino is made with equal parts espresso, steamed milk, and frothed milk. The frothed milk should be thick and creamy, creating a delightful foam cap.
- Latte: A latte consists of one part espresso to three parts steamed milk, topped with a thin layer of froth. The froth should be smooth and creamy, blending seamlessly with the steamed milk.
- Macchiato: A macchiato is a shot of espresso “stained” with a small amount of frothed milk. The froth should be dense and creamy, creating a rich contrast to the espresso.
- Iced Latte: For an iced latte, pour froth cold milk over a glass of ice with a shot of espresso. The froth adds a creamy texture to the cold beverage, making it refreshing and indulgent.

Troubleshooting Common Issues
Even with the best techniques, you might encounter some challenges while frothing milk. Here are a few common issues and how to resolve them:
No Froth
- Cause: Milk not cold enough or frother not appropriately submerged.
- Solution: Use cold milk and ensure the frother’s whisk is fully submerged.
Large Bubbles
- Cause: Over-frothing or using milk with low-fat content.
- Solution: Froth for a shorter time and try using milk with a higher fat content.
Scorched Milk
- Cause: Overheating the milk.
- Solution: Use a thermometer to ensure the milk doesn’t exceed 155°F.
Final Thoughts
Frothing milk with a frother is an art that, once mastered, can elevate your coffee-making experience to new heights. With the right tools, techniques, and a bit of practice, you can create creamy, delicious froth that rivals your favorite coffee shop. Whether you’re a coffee lover or a casual drinker, frothing milk is a skill worth learning. So grab your frother, choose your favorite milk, and start frothing your way to coffee perfection!

FAQs About Frothing Milk
What type of milk is best for frothing?
Whole milk is generally considered the best for frothing due to its higher fat content, which creates a rich, creamy froth. However, 2% milk also works well, providing a good balance of creaminess and health benefits. Skim milk produces a lighter, airy froth with larger bubbles. Non-dairy milk like almond, soy, oat, and coconut milk can also be frothed, though results vary; oat milk is trendy for its breathability, similar to dairy milk.
Can I froth cold milk?
Yes, you can froth cold milk, especially if you’re making iced lattes or other cold beverages. However, the froth produced from cold milk may not be as thick or creamy as hot milk. For best results, use a cold milk frother or a handheld frother and ensure the milk is fresh and straight from the fridge.
Why is my milk not frothing properly?
Several factors can affect milk frothing:
-
- The milk is not cold enough: Always use fresh, cold milk for best results.
- The frother is not submerged properly: Ensure the frother’s whisk is fully submerged in the milk.
- The milk type: Different types of milk froth differently. Whole milk froths best, while skim and non-dairy milks may produce less stable froth.
- Overheating: Milk heated above 155°F can scorch and affect the froth’s texture. Use a thermometer to avoid overheating.
How do I clean my milk frother?
Cleaning methods vary depending on the type of frother:
-
- Handheld Frother: Rinse the whisk under warm water immediately after use. Some models have detachable whisks that can be washed separately.
- Electric Frother: Follow the manufacturer’s instructions. Typically, you can rinse the frothing jug and whisk with warm, soapy water. Some parts may be dishwasher-safe.
- Manual Frother: Disassemble the frother and wash the plunger, lid, and jug with warm, soapy water. Rinse thoroughly and let dry before reassembling.
Can I froth non-dairy milk?
Yes, you can froth non-dairy milk such as almond, soy, oat, and coconut milk. However, results may vary. Oat milk is particularly popular among baristas for its ability to froth, similar to dairy milk. Look for barista-specific non-dairy milks, which are formulated to froth well and complement coffee.
What is the difference between steamed milk and frothed milk?
Steamed milk is heated milk with a smooth, velvety texture, often used in lattes. Frothed milk has more air incorporated, creating a light, airy foam that sits on top of the drink, as seen in cappuccinos. Both can be achieved using a steam wand or frother, but frothed milk requires more aeration.
What is microfoam, and how do I achieve it?
Microfoam is a finely textured milk froth with tiny, uniform bubbles, creating a smooth, glossy surface. It’s ideal for latte art. To achieve microfoam:
-
- Use cold, fresh milk.
- Position the steam wand just below the milk surface to incorporate air gradually.
- Once the milk volume increases, submerge the wand deeper to heat the milk evenly.
- Aim for a temperature of 150-155°F.
How do I make latte art with frothed milk?
Creating latte art requires practice and precision:
-
- Prepare Your Espresso: Pull a shot of espresso in a wide-mouthed cup.
- Froth the Milk: Froth your milk to achieve microfoam.
- Pour the Milk: Tilt the cup slightly and pour the milk from a height of 3-4 inches to mix the milk and espresso. As the cup fills, lower the pitcher and pour closer to the surface to create patterns.
- Create Patterns: Use controlled wrist movements to create hearts, rosettas, or tulip shapes. Practice makes perfect!
Leave a comment
This site is protected by hCaptcha and the hCaptcha Privacy Policy and Terms of Service apply.