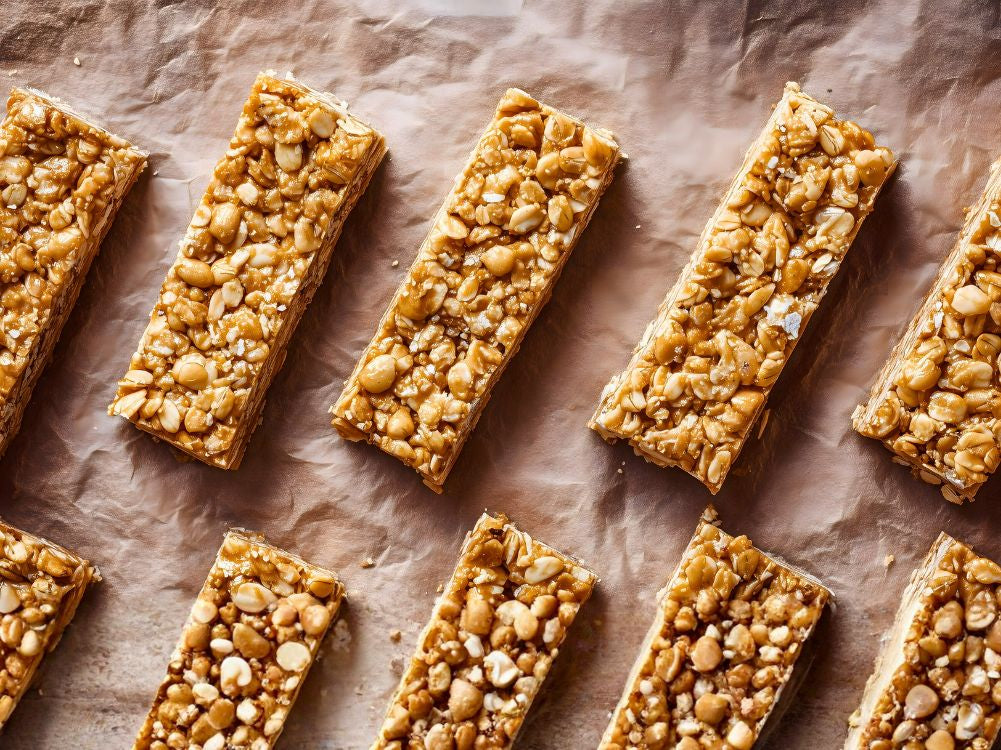
How to Make No-Bake Peanut Butter Bars
If you love peanut butter, this recipe is your dream come true. These no-bake peanut butter bars are rich, creamy, chocolatey, and irresistibly simple to make. All you need are a few pantry staples, zero oven time, and you can create a dessert that tastes like a peanut butter cup in bar form. So if you’re prepping a quick weekday treat, a crowd-pleasing dessert for parties, or a snack to pair with your morning coffee, this easy recipe delivers every time.
Peanut butter has been an American favorite since the early 1900s, when it was first introduced as a protein-packed alternative to meat. Over the years, it became a staple in home kitchens and found its way into countless desserts, such as cookies, fudge, and peanut butter cups. Today, these no-bake bars continue that delicious tradition, offering the perfect balance of nostalgia, flavor, and simplicity in every bite.
With that legacy in mind, let’s dive into what you’ll need to make your own batch of these classic no-bake peanut butter bars. Now, you can recreate this beloved dessert in your own kitchen without any oven time!
How to Make No-Bake Peanut Butter Bars
Prep Time: 15 minutes | Chill Time: 2 hours | Total Time: 2 hours 15 minutes
Servings: 12 bars

Ingredients
-
- 1 cup creamy peanut butter (plus 2 tbsp for topping)
- 1/2 cup unsalted butter, melted
- 1 teaspoon pure vanilla extract
- 2 cups powdered sugar
- 2 cups graham cracker crumbs
- 1 1/2 cups semisweet chocolate chips
- Pinch of salt
Instructions
Step 1: Prepare the peanut butter base.
In a mixing bowl, combine melted butter, peanut butter, vanilla extract, and a pinch of salt. Stir with a silicone spatulauntil smooth and creamy.
Step 2: Add the dry ingredients.
Mix in the powdered sugar and graham cracker crumbs. Stir until fully incorporated and a thick, dough-like mixture forms.
Step 3: Press into the pan.
Line an 8x8-inch pan with parchment paper or a silicone baking mat. Press the peanut butter mixture evenly into the bottom of the pan using a spatula or your hands.
Step 4: Make the chocolate topping.
In a microwave-safe bowl, melt the chocolate chips with 2 tablespoons of peanut butter in 20-second intervals, stirring between each until smooth.

Step 5: Spread and smooth.
Pour the melted chocolate mixture over the peanut butter base. Use your spatula to spread it evenly across the top.
Step 6: Chill until firm.
Refrigerate for at least 2 hours or until set. Once firm, cut into bars using a sharp knife.
Step 7: Serve and enjoy.
Your creamy, rich, and chocolate-topped no-bake peanut butter bars are ready to enjoy. Store leftovers in the refrigerator for up to a week — if they last that long!
Tips & Twists to Try on Your No-Bake Peanut Butter Bars
- Swap creamy peanut butter for a chunky variety or stir in chopped roasted peanuts or almonds. This adds a satisfying crunch to every bite and creates a more textured, candy-like experience.
- Sprinkle ½ teaspoon of flaky sea salt evenly over the chocolate layer before chilling. The contrast between sweet chocolate and salty flakes creates a gourmet, sweet-and-salty balance that elevates each bite.
- Use natural peanut butter with no added sugar and 70% or higher dark chocolate chips for the topping. This reduces refined sugar while keeping the bars rich, decadent, and nutrient-forward.
- Mix in 1–2 scoops of your favorite vanilla or chocolate protein powder into the peanut butter layer. It turns the bars into a filling post-workout snack while maintaining creamy texture and flavor.
- Stir in ½ cup of crushed pretzels, chopped pecans, or walnuts into the peanut butter base. These add an extra layer of crunch and a subtle nutty or salty dimension that pairs beautifully with the chocolate topping.
- Replace peanut butter with almond, cashew, or hazelnut butter. Each nut butter offers a unique flavor profile: almond adds a mild sweetness, cashew provides creaminess, and hazelnut gives a rich, dessert-like depth, while keeping the recipe just as easy.

No-Bake Peanut Butter Bars vs. Baked Bars
Compared to traditional baked bars or cookies, no-bake peanut butter bars offer a lighter, nutrient-rich alternative. Peanut butter provides healthy fats, plant-based protein, and fiber that keep you full longer. Unlike baked desserts that rely on refined flour, this recipe uses graham crackers and no eggs, making it simpler and less calorie-dense. The absence of baking preserves the natural nutrients of peanut butter and reduces unnecessary oil or butter use. If you opt for dark chocolate and natural sweeteners, these bars become an energizing treat rather than a guilt-laden indulgence.
Make Your Own No-Bake Peanut Butter Bars Today
With minimal effort and maximum flavor, these no-bake peanut butter bars prove that delicious desserts don’t need to be complicated. You’ll get the perfect balance of sweet, salty, and creamy in every bite with no oven required. They’re ideal for busy parents, dessert lovers, or anyone who craves a quick homemade treat.
So grab your Zulay Kitchen tools, whip up a batch, and indulge in the ultimate #KitchenHappiness moment because homemade desserts should be as easy as they are satisfying.
Other Kitchen Tools You Need for This Recipe
To make this no-bake dessert even easier, check out these additional tools from Zulay Kitchen:
-
- Glass Food Storage Containers- perfect for keeping your bars fresh and transportable.
- Non-Stick Knife Set- for smooth, clean cuts through the chilled chocolate layer.
- Balloon Whisk- great for mixing melted chocolate and peanut butter without clumps.
Each of these tools helps you achieve flawless, mess-free dessert prep, and they’re built to last, just like your new favorite recipe.

Frequently Asked Questions About No-Bake Peanut Butter Bars
Can I use natural peanut butter for this recipe?
Yes. Natural peanut butter works beautifully but can separate more easily, so stir it thoroughly before using. It gives the bars a more authentic peanut flavor and fewer added sugars. If your mixture feels too oily or loose, add extra graham cracker crumbs or powdered sugar to balance the texture. Avoid runny peanut butter brands that make the bars too soft. Refrigerating them longer also helps the bars set firmly without becoming greasy.
Can I freeze no-bake peanut butter bars?
Absolutely. These bars freeze wonderfully for up to three months. Cut them into portions and layer them between parchment paper in an airtight container. When ready to eat, thaw in the refrigerator for an hour or at room temperature for 10–15 minutes. Freezing actually enhances their chewy texture and preserves flavor.
How do I prevent the chocolate layer from cracking when cutting?
To avoid cracks, let the bars sit at room temperature for 10–15 minutes before slicing. Then, use a warm knife (run under hot water and wiped dry) to glide smoothly through the chocolate. A trick is to slightly under-chill the bars so the chocolate isn’t rock-hard when slicing.
Can I substitute graham crackers with something else?
Yes, you can replace graham cracker crumbs with crushed digestive biscuits, vanilla wafers, or even gluten-free cookies for dietary preferences. The key is maintaining the dry-to-wet ratio, so the base holds together well. If using cookies with more fat or sugar, reduce the powdered sugar slightly. This recipe is flexible enough to accommodate your favorite textures or flavor bases.
Are no-bake peanut butter bars gluten-free?
They can be. Just use gluten-free graham crackers or almond flour instead of the standard crumbs. Always check that your chocolate chips and peanut butter are certified gluten-free. This swap doesn’t affect taste or texture, and it keeps the bars chewy, rich, and perfectly indulgent while fitting into a gluten-free lifestyle.
How long do these bars last in the fridge?
Stored in an airtight container, no-bake peanut butter bars stay fresh for up to 7 days in the refrigerator. Keep them chilled to maintain firmness and prevent melting. For best flavor, remove them a few minutes before serving so the chocolate and peanut butter soften slightly. Avoid keeping them at room temperature for too long, especially in warm weather, as the butter can cause them to lose structure.
What’s the best type of chocolate for topping?
Semi-sweet chocolate chips are classic, but you can experiment with dark, milk, or even white chocolate depending on your preference. Dark chocolate (70% cocoa) creates a rich, intense flavor and pairs beautifully with peanut butter’s saltiness. For a lighter, sweeter version, milk chocolate works perfectly. Always melt chocolate slowly and stir often to avoid burning or seizing.
Leave a comment
This site is protected by hCaptcha and the hCaptcha Privacy Policy and Terms of Service apply.