The Ultimate Milk Frother Cheat Sheet
Download Frother Cheat Sheet »
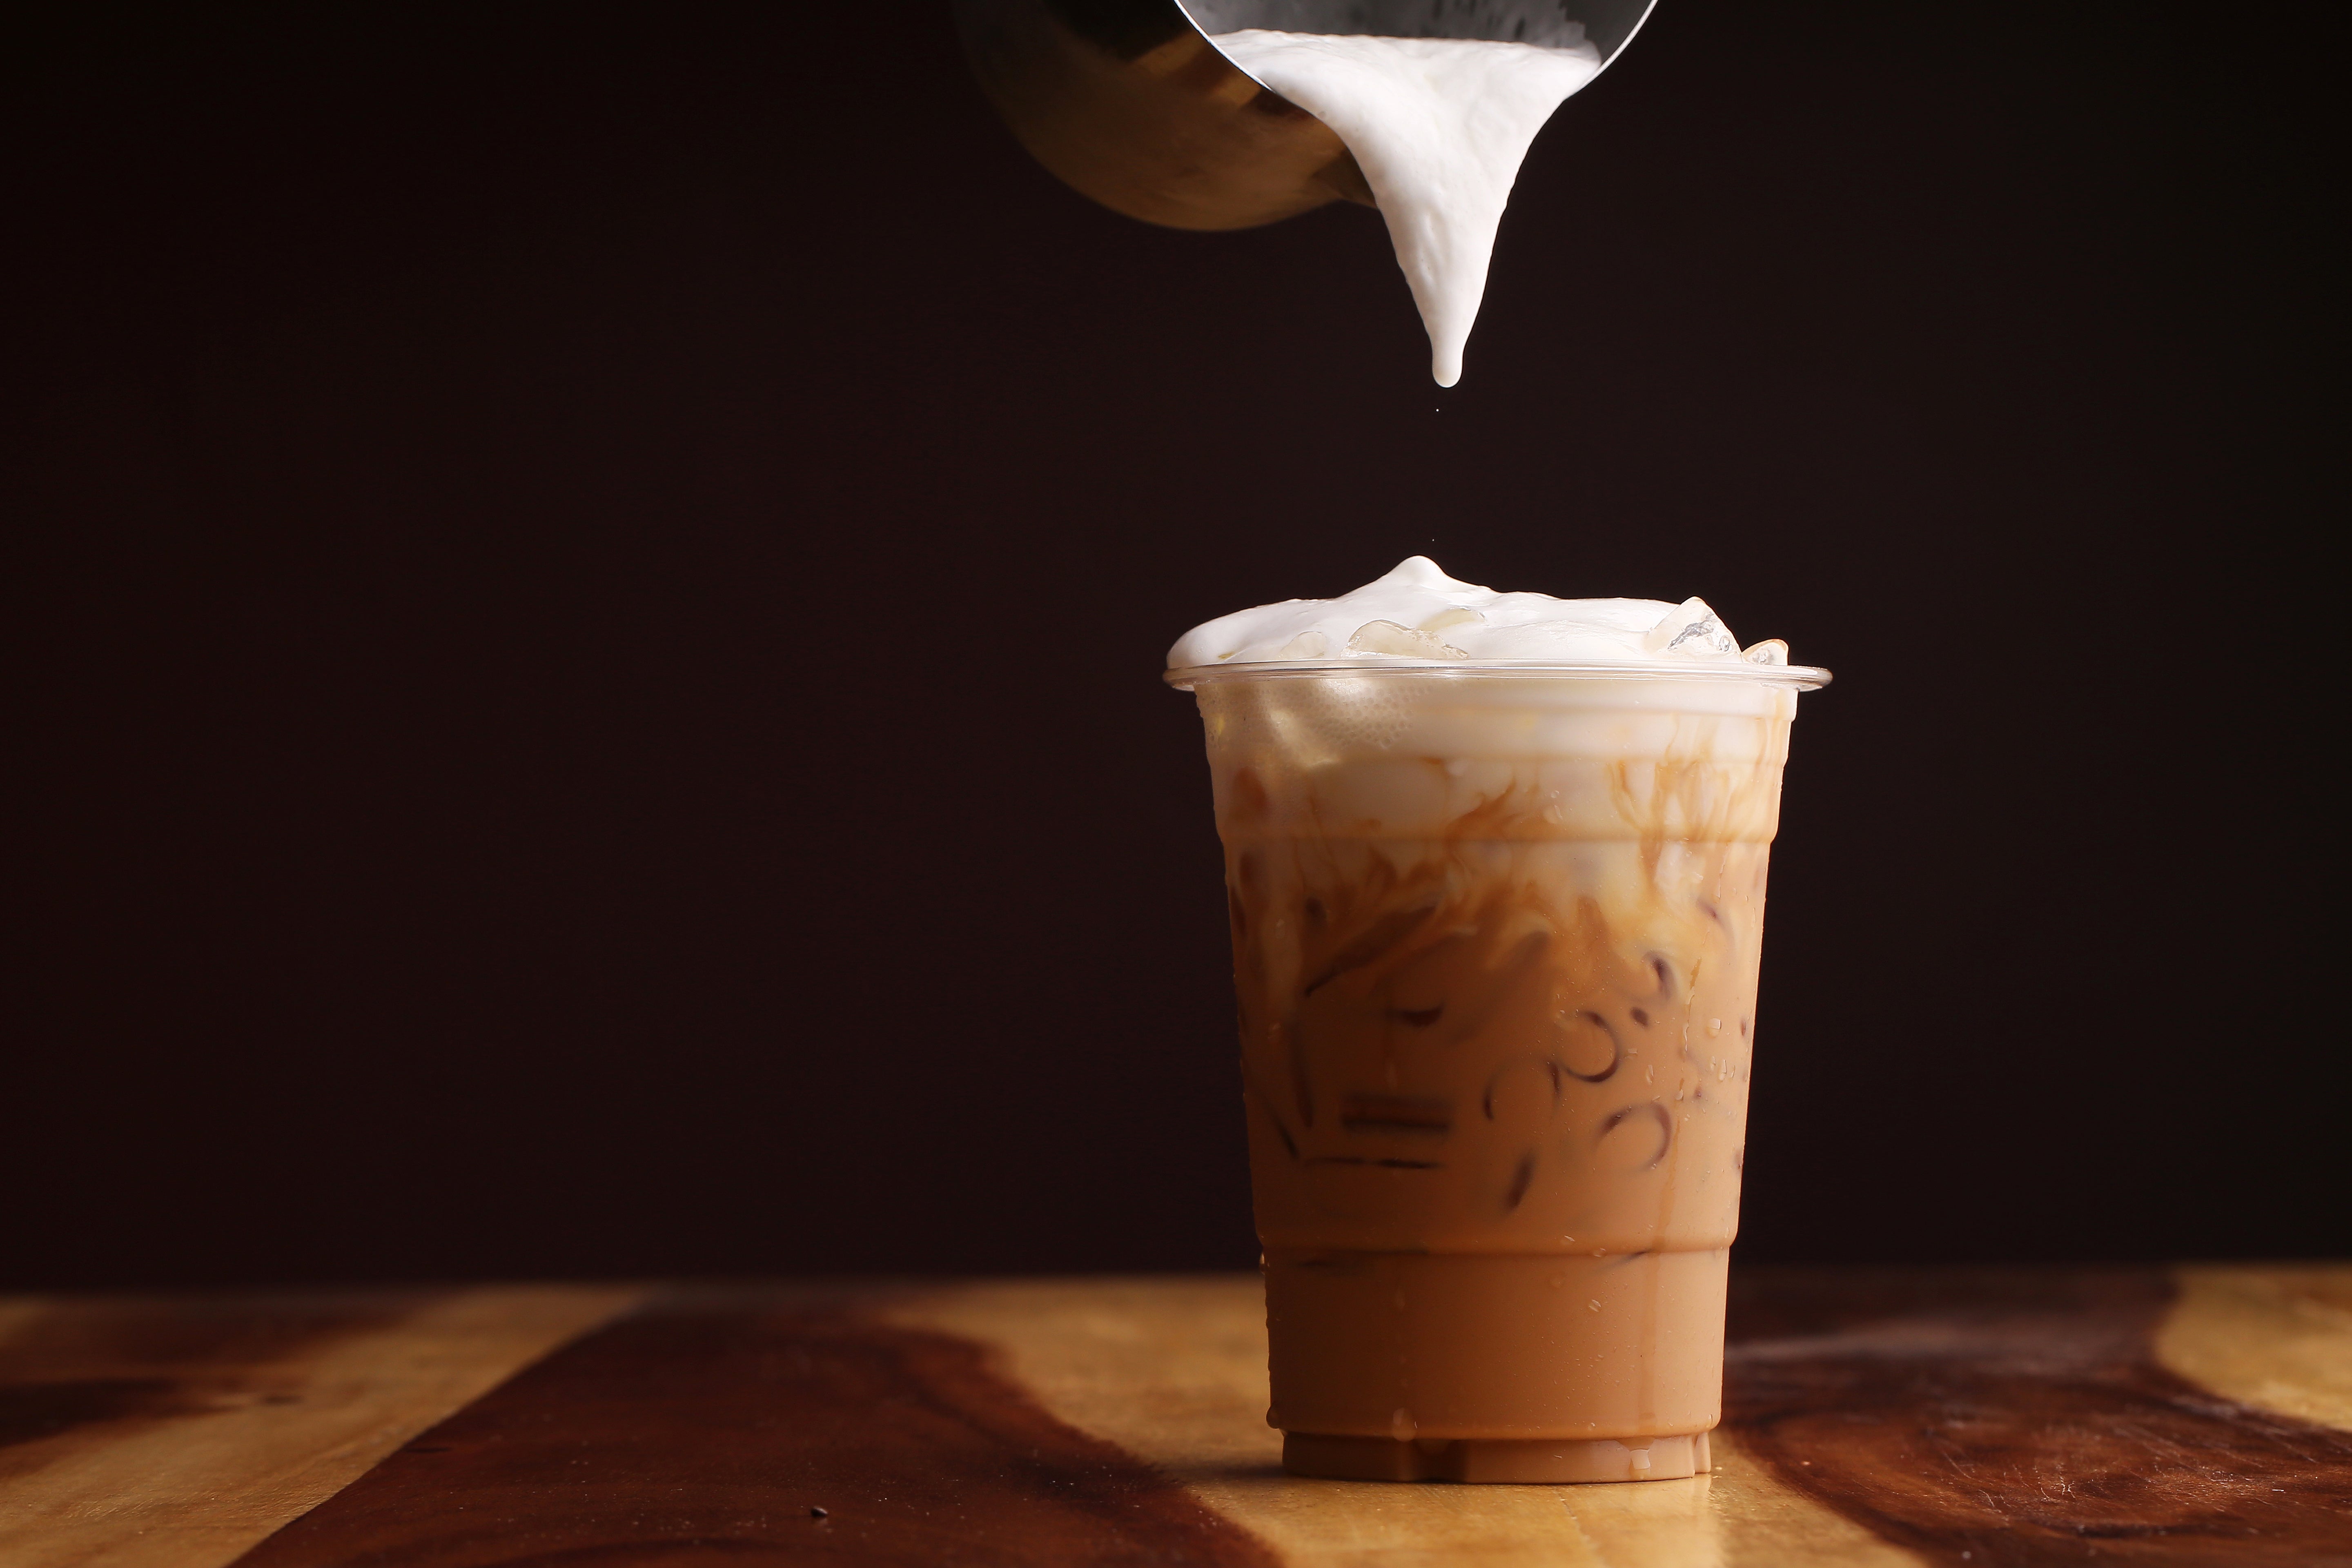
Why Frothing Matters
Frothing is all about transforming milk into something truly luxurious. When done properly, frothing adds texture that makes your drinks feel velvety and indulgent, while also enhancing flavor balance by introducing air that brings out the milk’s natural sweetness. Beyond that, frothing opens up endless variety, allowing you to create your favorite coffee shop drinks right at home. With just a little technique, you can turn an ordinary cup into something special. So, let’s break down the essentials of frothing success.
1. Choosing the Right Milk or Milk Substitute
The type of milk you use makes the biggest difference in your frothing outcome. Here’s what you should know:
Dairy Milks
-
- Skim milk: Froths beautifully due to high protein and low fat. Creates stiff, airy foam.
- 2% milk: Strikes a balance and has a rich taste with decent froth.
- Whole milk: Creamy, but fat content weighs down foam, giving you less volume.
- Half & half / cream: Too heavy for frothing; best for richness, not foam.
Plant-Based Milks
Not all alternatives froth the same. Look for cartons labeled “barista edition” as they’re formulated for foaming.
-
- Soy milk: High protein, froths well (closest to dairy).
- Oat milk: Creamy texture, stable foam, slightly sweet.
- Almond milk: Lighter, can froth but tends to separate quickly.
- Coconut milk: Thick, tropical flavor, but not much volume.
Zulay says: Always use cold milk straight from the fridge. Proteins stretch better when chilled, giving you more stable foam.

2. Mastering Milk Temperature
Temperature can make or break your froth. Too cold and it won’t hold; too hot and proteins break down, collapsing your foam.
Here’s your milk foam temperature cheat sheet:
-
- Cold froth (32–40°F): Great for iced lattes or cold brews.
- Warm froth (120–140°F): Sweet spot for cappuccinos and lattes. Milk tastes naturally sweeter at this range.
- Too hot (160°F+): Milk scalds, proteins break, and foam disappears.
How to Measure: Use a digital thermometer or learn the hand test, where the milk should feel hot but never burning when you touch the pitcher.
3. Choosing the Right Cup or Pitcher
Believe it or not, the container you froth in plays a huge role in your results. A wide glass or pitcher gives your milk more room to circulate, which means better aeration and a thicker, creamier foam. On the other hand, a tall, skinny glass tends to restrict movement, which limits the amount of froth you can create, even if you’re using the same milk. For the best control and durability, many coffee lovers swear by a stainless steel frothing pitcher. It not only helps you manage the angle and movement of your frother but also withstands heat and daily use with ease. Just a friendly advice, always fill your container only halfway. Since milk doubles in volume when frothed, this simple step prevents messy spills and ensures you get the perfect amount of foam every time.

4. Tools for Frothing at Home
You don’t need a café-grade espresso machine. Here are simple tools that make frothing effortless:
-
- Handheld Milk Frother: Best-seller at Zulay Kitchen! Portable, affordable, and perfect for everyday use.
- French Press: Pump the plunger up and down with warm milk for airy foam.
- Mixing Bowl: Heat milk, seal, and shake vigorously (quick DIY method).
- Automatic Frother: Push-button convenience for hot or cold froth.
5. Quick Frothing Guide (with a Handheld Frother)
-
- Pour cold milk into a frothing pitcher (about ⅓–½ full).
- Insert the frother just below the surface.
- Tilt slightly and froth in circular motions.
- Move deeper into the milk to blend the foam evenly.
- Stop when the milk doubles in volume and looks silky.

6. Troubleshooting Frothing Issues
If your foam isn’t turning out the way you hoped, don’t worry, there are a few simple checks that can solve most problems. If you’re getting no foam at all, the issue is often overheated milk or using dairy that’s too high in fat. Remember, fat weighs foam down, so lower-fat options like 2% or skim usually work better. If your foam looks great at first but collapses quickly, the culprit is usually low protein content. Protein helps stabilize froth, so switching to skim, soy, or even oat milk designed for baristas can make a big difference.
Now, when you notice big, airy bubbles instead of smooth, silky foam, that’s a sign your frother is too close to the surface of the milk. You have to immerse it a bit deeper for a finer texture. And if your foam is separating into layers, that’s especially common with almond or coconut milk. In that case, try barista-edition plant milks, which are specially formulated to froth beautifully. With just a little troubleshooting, you’ll be able to perfect that café-quality foam at home.
7. Drinks You Can Make with Frothed Milk
Once you master frothing, a world of recipes opens up:
-
- Classic Latte – Espresso + steamed milk + light froth
- Cappuccino – Espresso + equal parts steamed milk & foam
- Flat White – Espresso + velvety microfoam
- Iced Matcha Latte – Whisked matcha + milk + cold froth
- Whipped Cream Froth – Use heavy cream instead of milk for a decadent topping
You can find even more step-by-step recipes on Zulay Kitchen’s YouTube channel.

Happy Frothing Awaits
Frothing doesn’t need to be complicated. With the right milk, temperature, and tools, you can whip up barista-level foam at home every day. From cozy cappuccinos to refreshing iced lattes, your frother is the key to unlocking endless drink possibilities. So, grab your favorite milk, your Zulay Kitchen Milk Frother, and start experimenting. Once you master the basics, you’ll never look at coffee shop drinks the same way again.


Leave a comment
This site is protected by hCaptcha and the hCaptcha Privacy Policy and Terms of Service apply.