


How to Make Vegetable Juice Using the Cast Iron Juicer
If you feel overwhelmed and don’t know how to start or how to make vegetable juice using a cast-iron juicer, here’s a simple way to do it. In fact, manual juicing methods like cast iron juicers have been used for generations because they’re so easy to use, preserve nutrients, require no electricity, and allow complete control over texture and yield.
According to nutrition research, freshly juiced vegetables can lose nutrients rapidly once processed, especially when exposed to heat and oxidation. Manual juicing methods help minimize this loss by extracting juice slowly and gently. That makes a cast-iron juicer an excellent option for anyone focused on nutrient-dense, whole-food habits.
In this guide, you’ll learn exactly how to make vegetable juice using a cast iron juicer, which vegetables work best, how to maximize juice yield, and how to elevate the process using dependable Zulay Kitchen tools.
How to Make Vegetable Juice Using the Cast Iron Juicer
Prep Time: 10 minutes | Juicing Time: 5–10 minutes
Servings: 2–3 glasses (depending on produce size)

Ingredients
Use fresh, firm vegetables for the best flavor and juice extraction.
Basic Vegetable Juice Blend
-
-
- 2 medium carrots (washed and trimmed)
- 2 celery stalks
- 1 cucumber
- 1 small beet (peeled and quartered)
- 1 handful spinach or kale
- 1-inch piece of fresh ginger (optional, peeled)
- 1/2 lemon (peeled, optional for brightness)
-
Optional Add-Ins
-
-
- Parsley or cilantro for freshness
- Green apple for mild sweetness
- Turmeric root for earthy depth
-
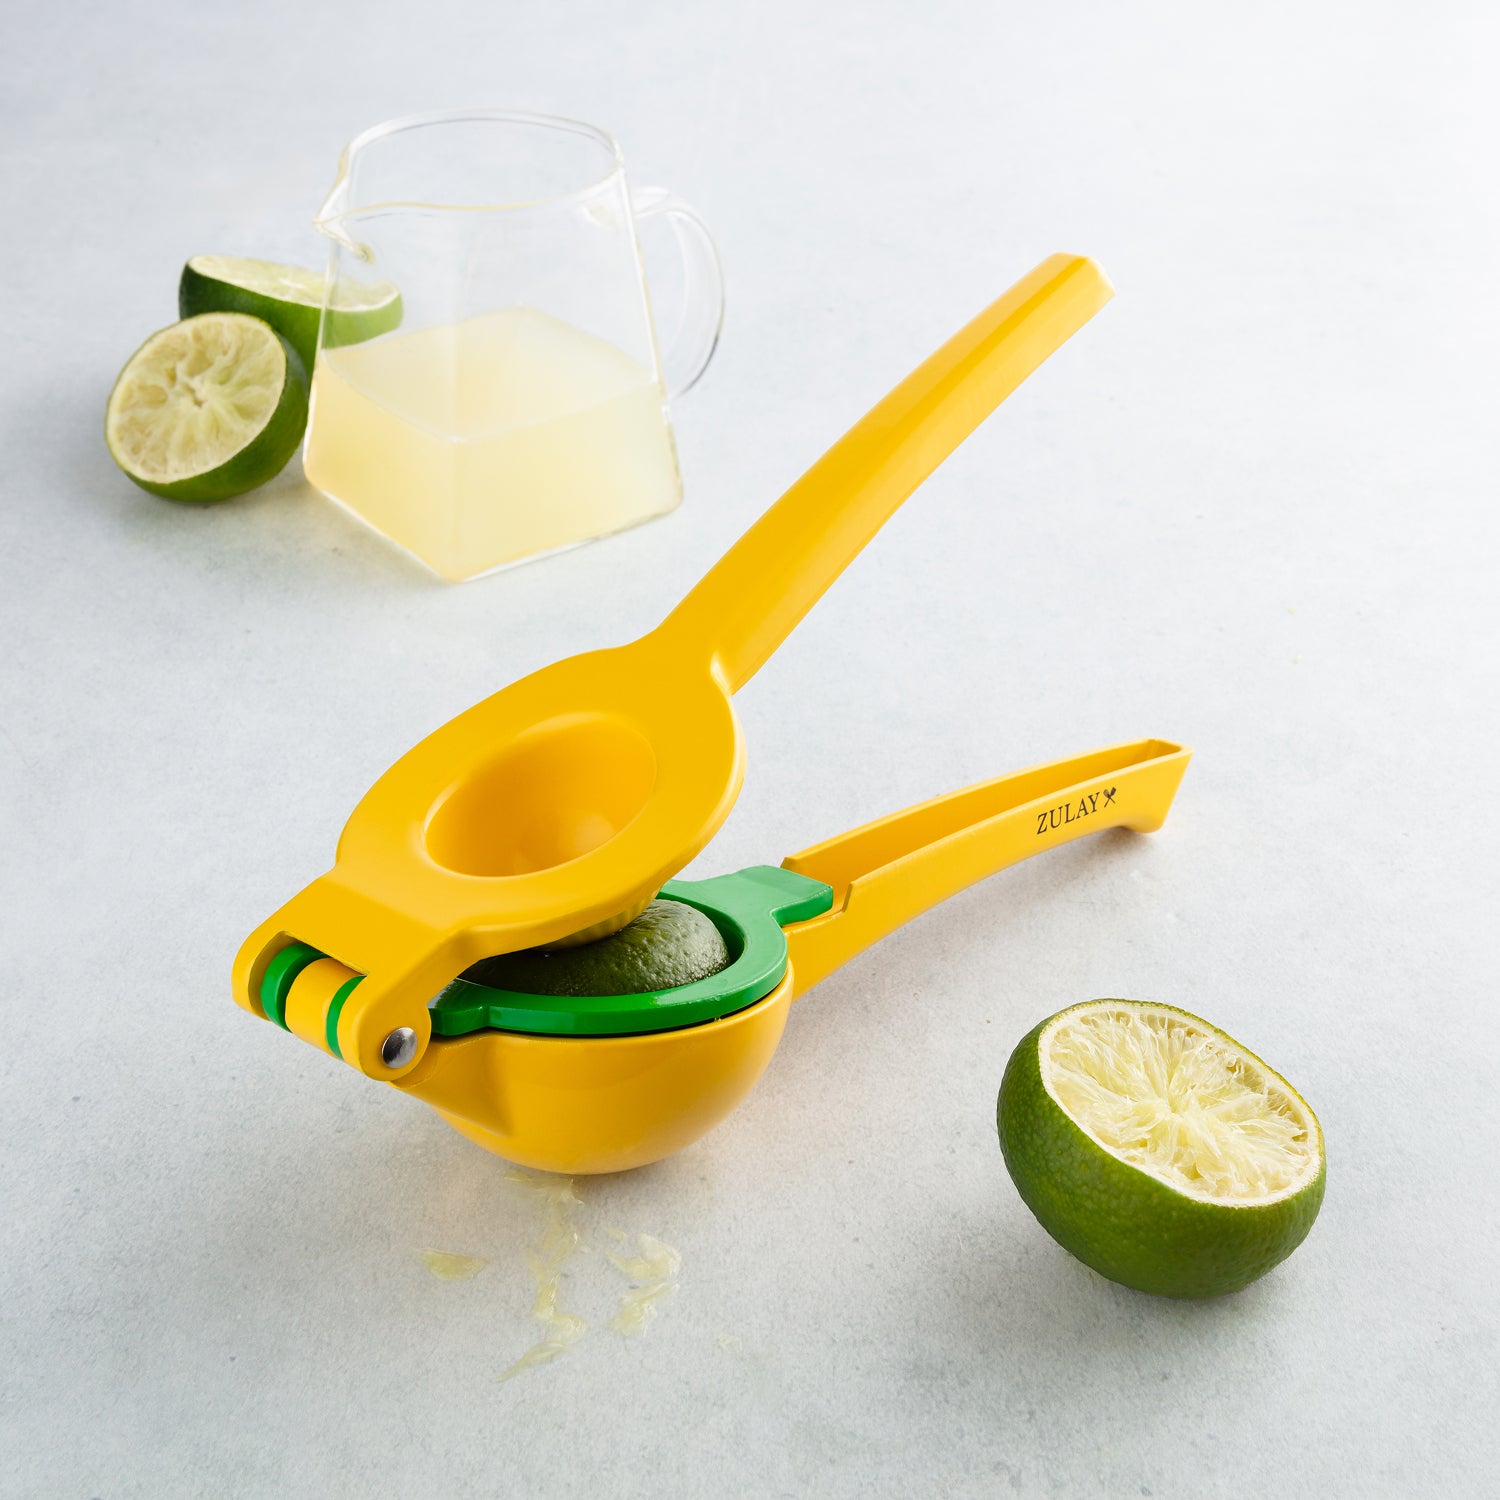
Zulay Says: Chop vegetables into smaller chunks so they feed easily into the juicer without forcing.
Instructions
Step 1: Set Up the Cast Iron Juicer
Secure your Cast Iron Juicer to a sturdy countertop or table using the built-in clamp. Make sure it’s tightly fastened to prevent slipping while cranking. Place a large bowl or measuring cup under the spout to catch the juice.
Step 2: Wash and Prep the Vegetables
Wash all vegetables thoroughly to remove dirt and residue. Using a cutting board and chef’s knife, peel tougher skins like beets and ginger if preferred, then cut everything into pieces small enough to fit easily into the juicer’s hopper.
Step 3: Load Vegetables Into a Mesh Bag (Optional but Recommended)
For a cleaner juicing process, place your chopped vegetables into a food-safe mesh or nut milk bag before juicing. This method is most commonly used to help contain pulp, improve juice clarity, and actually makes cleanup faster. Twist the top of the bag closed and feed it slowly into the juicer.

Step 4: Feed Vegetables Gradually
If not using a mesh bag, insert vegetables directly into the juicer one piece at a time. Apply steady, gentle pressure rather than forcing ingredients through. Alternate softer vegetables like cucumbers and leafy greens with firmer ones like carrots to keep the juicer moving smoothly.
Step 5: Crank Slowly and Consistently
Turn the handle at a slow, even pace. This controlled motion allows the cast-iron juicer to extract more juice while producing drier pulp. Cranking too quickly can lower yield and place unnecessary strain on the juicer.
Step 6: Re-Juice the Pulp (Optional Tip)
To maximize juice output, collect the remaining pulp and run it through the juicer a second time. This is especially effective for dense vegetables such as carrots, beets, and celery.
Step 7: Stir and Serve Fresh
Stir the juice gently to blend flavors evenly. Serve immediately for the freshest taste or store in an airtight glass container in the refrigerator for up to 24 hours.
Step 3: Feed Vegetables Gradually
Insert vegetables into the juicer one piece at a time. Use steady pressure rather than forcing them through. Softer vegetables like cucumber and leafy greens should be alternated with firmer ones like carrots for smoother juicing.
Step 4: Crank Slowly and Consistently
Turn the handle at a slow, even pace. This controlled motion helps extract more juice while keeping pulp drier. Rushing the process can reduce yield and strain the mechanism.
For maximum extraction, collect the pulp and run it through the juicer a second time. This extra step can significantly increase juice output, especially with carrots and beets.
Step 5: Stir and Serve Fresh
Stir the juice gently to combine flavors. Serve immediately or store in an airtight glass container in the refrigerator for up to 24 hours.
Tips & Twists to Try on Your Vegetable Juice
- Alternate textures while juicing: Feeding soft and hard vegetables alternately improves extraction and prevents clogging. This technique keeps the auger moving smoothly and extends the juicer’s lifespan.
- Juice greens with something firm: Leafy greens release more juice when paired with carrots or celery. The firmer produce helps push delicate leaves through the press.
- Cut produce smaller than you think: Smaller pieces reduce resistance and increase yield. This also makes cranking easier and more consistent.
- Add citrus at the end: Lemon or lime helps brighten the juice and clean residual flavors from the juicer naturally.
- Chill vegetables before juicing: Cold produce releases cleaner-tasting juice and improves texture without watering it down.
- Season lightly, if desired: A pinch of sea salt can enhance natural sweetness without overpowering the vegetables.

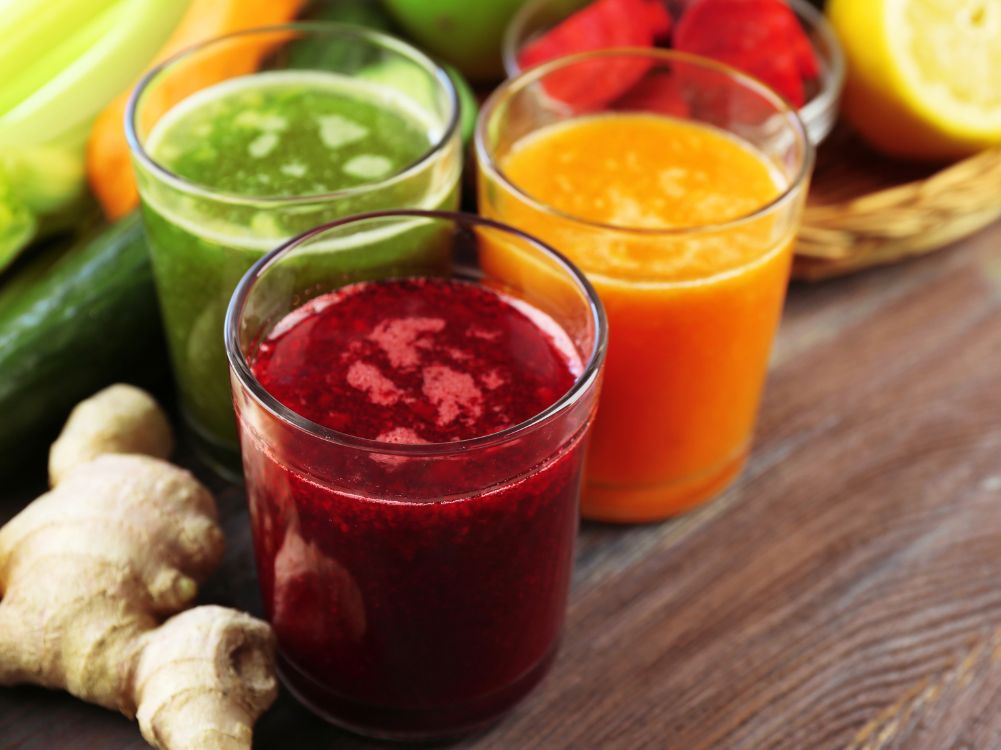
Is Vegetable Juice Good for You?
Compared to bottled vegetable juice, fresh vegetable juice made with a cast-iron juicer contains no preservatives, added sugars, or stabilizers. Manual juicing also generates less heat than electric models, which helps preserve vitamin C, enzymes, and phytonutrients.
Unlike high-speed centrifugal juicers, cast-iron juicers produce juice with less foam and separation. This results in a smoother mouthfeel and better nutrient retention. Plus, the fiber content remains higher when pulp is re-juiced or partially incorporated. Vegetable juice supports hydration, digestion, and micronutrient intake, especially for those who struggle to eat enough whole vegetables daily.
Make Your Own Vegetable Juice Today
Making vegetable juice at home doesn’t have to be complicated or expensive. With a cast iron juicer, fresh produce, and a few smart techniques, you can enjoy nutrient-dense juice anytime without electricity, noise, or cleanup stress.
This method brings you closer to your ingredients and gives you complete control over flavor, texture, and freshness. Once you master how to make vegetable juice using a cast-iron juicer, it quickly becomes a satisfying daily ritual rather than a chore.
Other Kitchen Tools You Need for This Recipe
To make the juicing process even smoother, consider adding these Zulay Kitchen essentials:
- Kitchen Knife Set for clean, efficient chopping
- Measuring Cups for accurate portions
- Fine Mesh Strainer if you prefer pulp-free juice
- Glass Bottles for short-term refrigeration
Explore these tools at Zulay Kitchen to build a simple, reliable setup that supports healthier habits every day.
Shop the Zulay Kitchen Citrus Collection »


Leave a comment
This site is protected by hCaptcha and the hCaptcha Privacy Policy and Terms of Service apply.