


Article: How to Make Avocado Chocolate Truffles with Dark Chocolate
How to Make Avocado Chocolate Truffles with Dark Chocolate
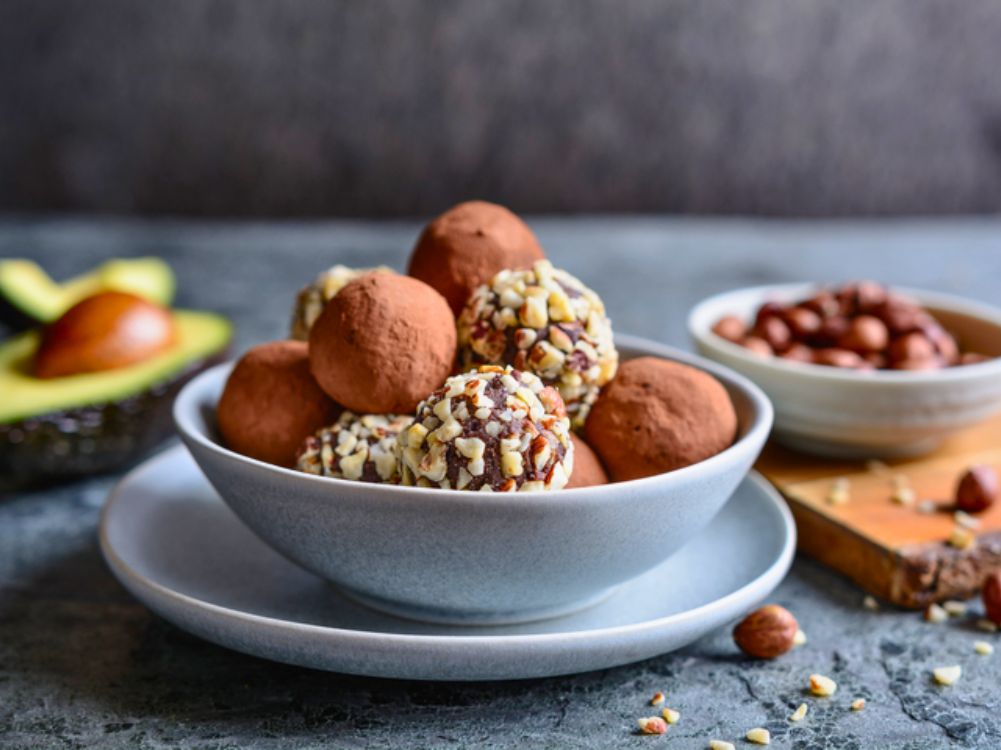
Have you ever bitten into a chocolate truffle so rich and creamy it felt indulgent, yet surprisingly light? Chocolate truffles have been a beloved treat since the late 19th century in France, named for their resemblance to the rare truffle fungus prized by chefs. By the 1920s, French patisseries popularized the ganache-filled balls coated in cocoa powder, a tradition that has spread worldwide. In fact, global chocolate consumption reached over 7.5 million tons in 2022, with truffles consistently ranking among the top-selling specialty chocolates.
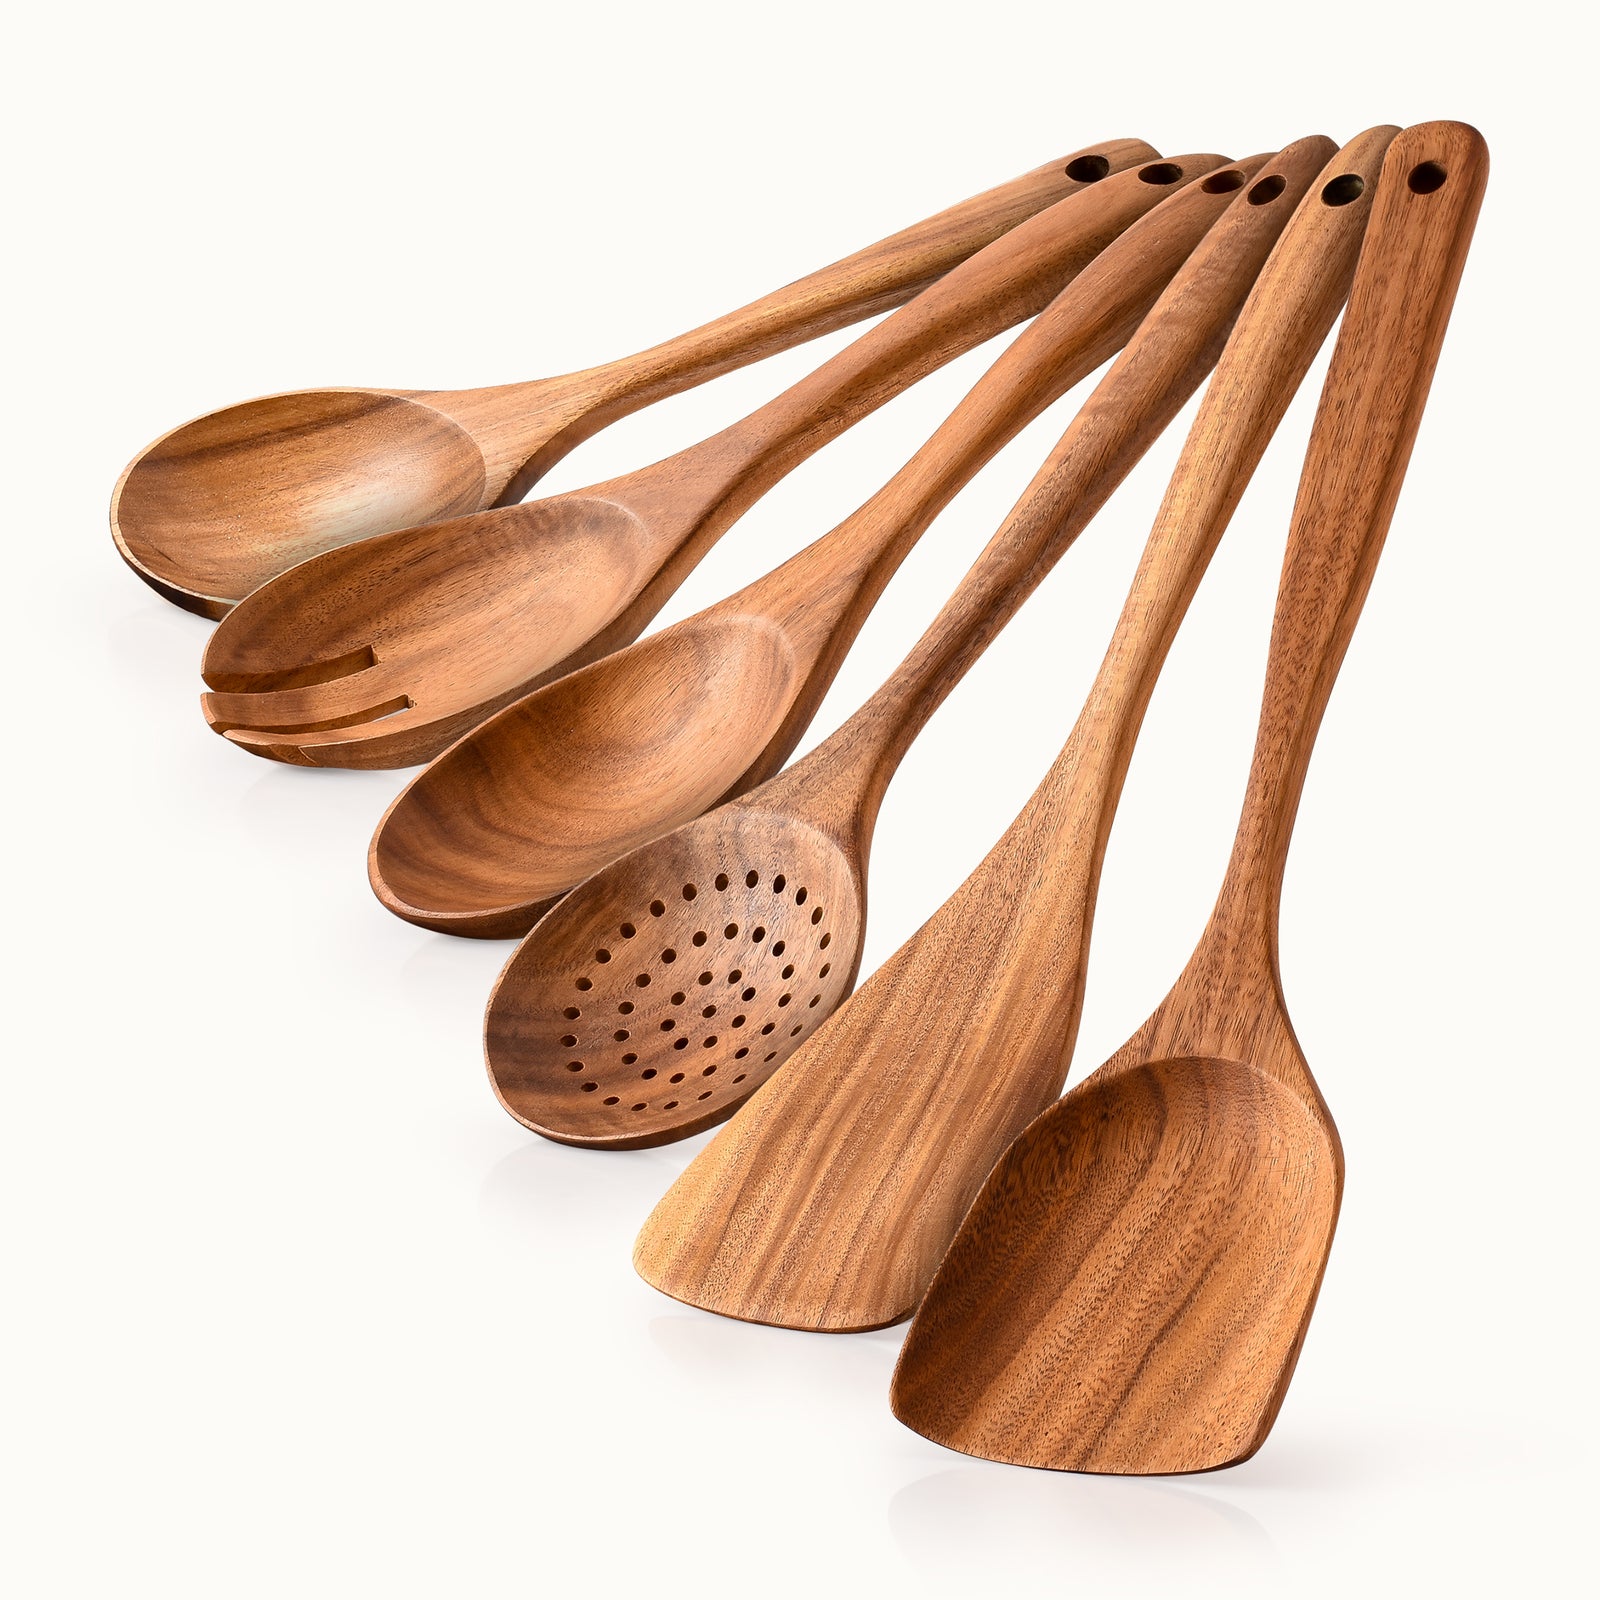
This is exactly where avocado chocolate truffles with dark chocolate shine. Using ripe avocado as a creamy, dairy-free base, these truffles deliver the luxurious texture of classic truffles with a plant-forward twist. Paired with high-quality dark chocolate and simple ingredients, this recipe is perfect for entertaining, gifting, or treating yourself, all while keeping preparation simple and approachable. Using reliable kitchen tools from Zulay Kitchen ensures your truffles achieve smooth, professional-quality results every time.
How to Make Avocado Chocolate Truffles
Prep Time: 20 minutes | Cook Time: 10 minutes | Chill Time: 1–2 hours
Servings: 16–20 truffles
Ingredients
- 2 ripe avocados (peeled and pitted)
- 8 oz dark chocolate (70% cocoa recommended, chopped)
- 1/4 cup unsweetened cocoa powder (plus extra for coating)
- 2–3 tablespoons maple syrup or honey (adjust to taste)
- 1 teaspoon vanilla extract
- 1/8 teaspoon sea salt
Optional coatings:
-
- Crushed nuts
- Shredded coconut
- Cocoa powder
- Melted dark chocolate for dipping
Instructions
Step 1: Prepare the Chocolate
Start by using a Zulay Kitchen knife set to finely chop the dark chocolate into small, even pieces. Chopping the chocolate into uniform pieces ensures it melts evenly and reduces the risk of burning or seizing. Place the chopped chocolate in a heat-safe bowl and set it aside. Taking this extra step will make melting smoother and help create the creamy texture that is key to perfect truffles.
Step 2: Melt the Chocolate
Gently melt the chopped chocolate using a double boiler on the stove, or in the microwave in short 20-second intervals. After each interval, stir the chocolate thoroughly with a silicone spatula to promote even melting and a glossy finish. Stop melting when the chocolate is smooth and fluid, but not overly hot, which could cook the avocado when combined. Set aside to cool slightly while preparing the avocado base.
Step 3: Blend the Avocado Base
Scoop ripe avocado flesh into a food processor or high-speed blender- you can also use an immersion blender. Add cocoa powder, maple syrup, vanilla extract, and a pinch of salt. Blend until smooth and creamy, stopping occasionally to scrape down the sides with your silicone spatula. The goal is a completely uniform texture with no lumps, which will help the chocolate integrate seamlessly for silky truffles. Taste the mixture and adjust the sweetness if desired.
Step 4: Combine Chocolate and Avocado
Pour the slightly cooled, melted chocolate into the avocado mixture. Blend again until the chocolate is fully incorporated and the mixture is glossy and uniform in color. Make sure there are no streaks of chocolate or avocado visible.
Step 5: Chill the Mixture
Transfer the chocolate-avocado mixture to a clean bowl and cover tightly. Refrigerate for 30–45 minutes until firm enough to scoop. The chilling process allows the truffles to hold their shape during rolling and helps the flavors meld together for a richer taste. If needed, extend the chilling time in 10-minute increments until the mixture is easily scoopable.
Step 6: Shape the Truffles
Use a scoop or tablespoon to portion the chilled mixture into uniform balls. Roll each portion between your clean hands to form smooth, round truffles. Lightly wetting your hands with water or dusting them with cocoa powder can prevent the mixture from sticking. Uniform sizing ensures even coating and a polished appearance.
Step 7: Coat and Finish
Prepare your coating options: cocoa powder, chopped nuts, shredded coconut, or additional melted chocolate for a glossy finish. Roll each truffle in the coating until evenly covered. For a shiny chocolate finish, dip each truffle in tempered or melted chocolate and let the excess drip off. Place coated truffles on a parchment-lined tray and chill for an additional 30 minutes to set completely. Store finished truffles in an airtight container in the refrigerator for up to one week.
Tips & Twists to Try on Your Avocado Chocolate Truffles
-
- Choose perfectly ripe avocados: Soft, ripe avocados blend smoothly and create a creamy texture without grassy notes.
- Control sweetness carefully: Dark chocolate varies in bitterness. Taste the mixture before chilling and adjust the sweetener gradually.
- Add espresso powder: A pinch of espresso powder intensifies the chocolate flavor without making the truffles taste like coffee.
- Experiment with coatings: Cocoa powder keeps them classic, while crushed pistachios or hazelnuts add crunch and contrast.
- Flavor infusions: Add orange zest, peppermint extract, or cinnamon for seasonal variations.
- Texture refinement: Chill the mixture just enough to hold shape; over-chilling can make rolling difficult.
Health Benefits of Avocado Chocolate Truffles
Compared to traditional chocolate truffles made with heavy cream and butter, avocado chocolate truffles with dark chocolate offer a lighter, plant-forward alternative. Avocados provide healthy monounsaturated fats, fiber, and potassium, contributing to satiety and heart health. Dark chocolate contains antioxidants known as flavonoids, which support cardiovascular wellness when enjoyed in moderation.
Traditional truffles rely on refined sugars and saturated fats, while this version reduces dairy and uses natural sweeteners. The result is a dessert that feels indulgent yet aligns better with balanced eating habits.
Make Your Own Avocado Chocolate Truffles Today
These avocado chocolate truffles prove that dessert can be rich, elegant, and surprisingly simple. With minimal ingredients and no baking required, they’re perfect for entertaining, gifting, or keeping a batch in the fridge for when chocolate cravings strike. Once you master the base recipe, the flavor possibilities are endless.
Other Kitchen Tools You Need for This Recipe
To make preparation even smoother, consider these additional Zulay Kitchen tools:
-
- Mixing Bowls: Keeps prep organized and efficient.
- Parchment Paper: Prevents sticking while chilling and coating.
- Airtight Storage Containers: Keep truffles fresh and flavorful.
Explore these tools and more at Zulay Kitchen to elevate every dessert you create.
Leave a comment
This site is protected by hCaptcha and the hCaptcha Privacy Policy and Terms of Service apply.