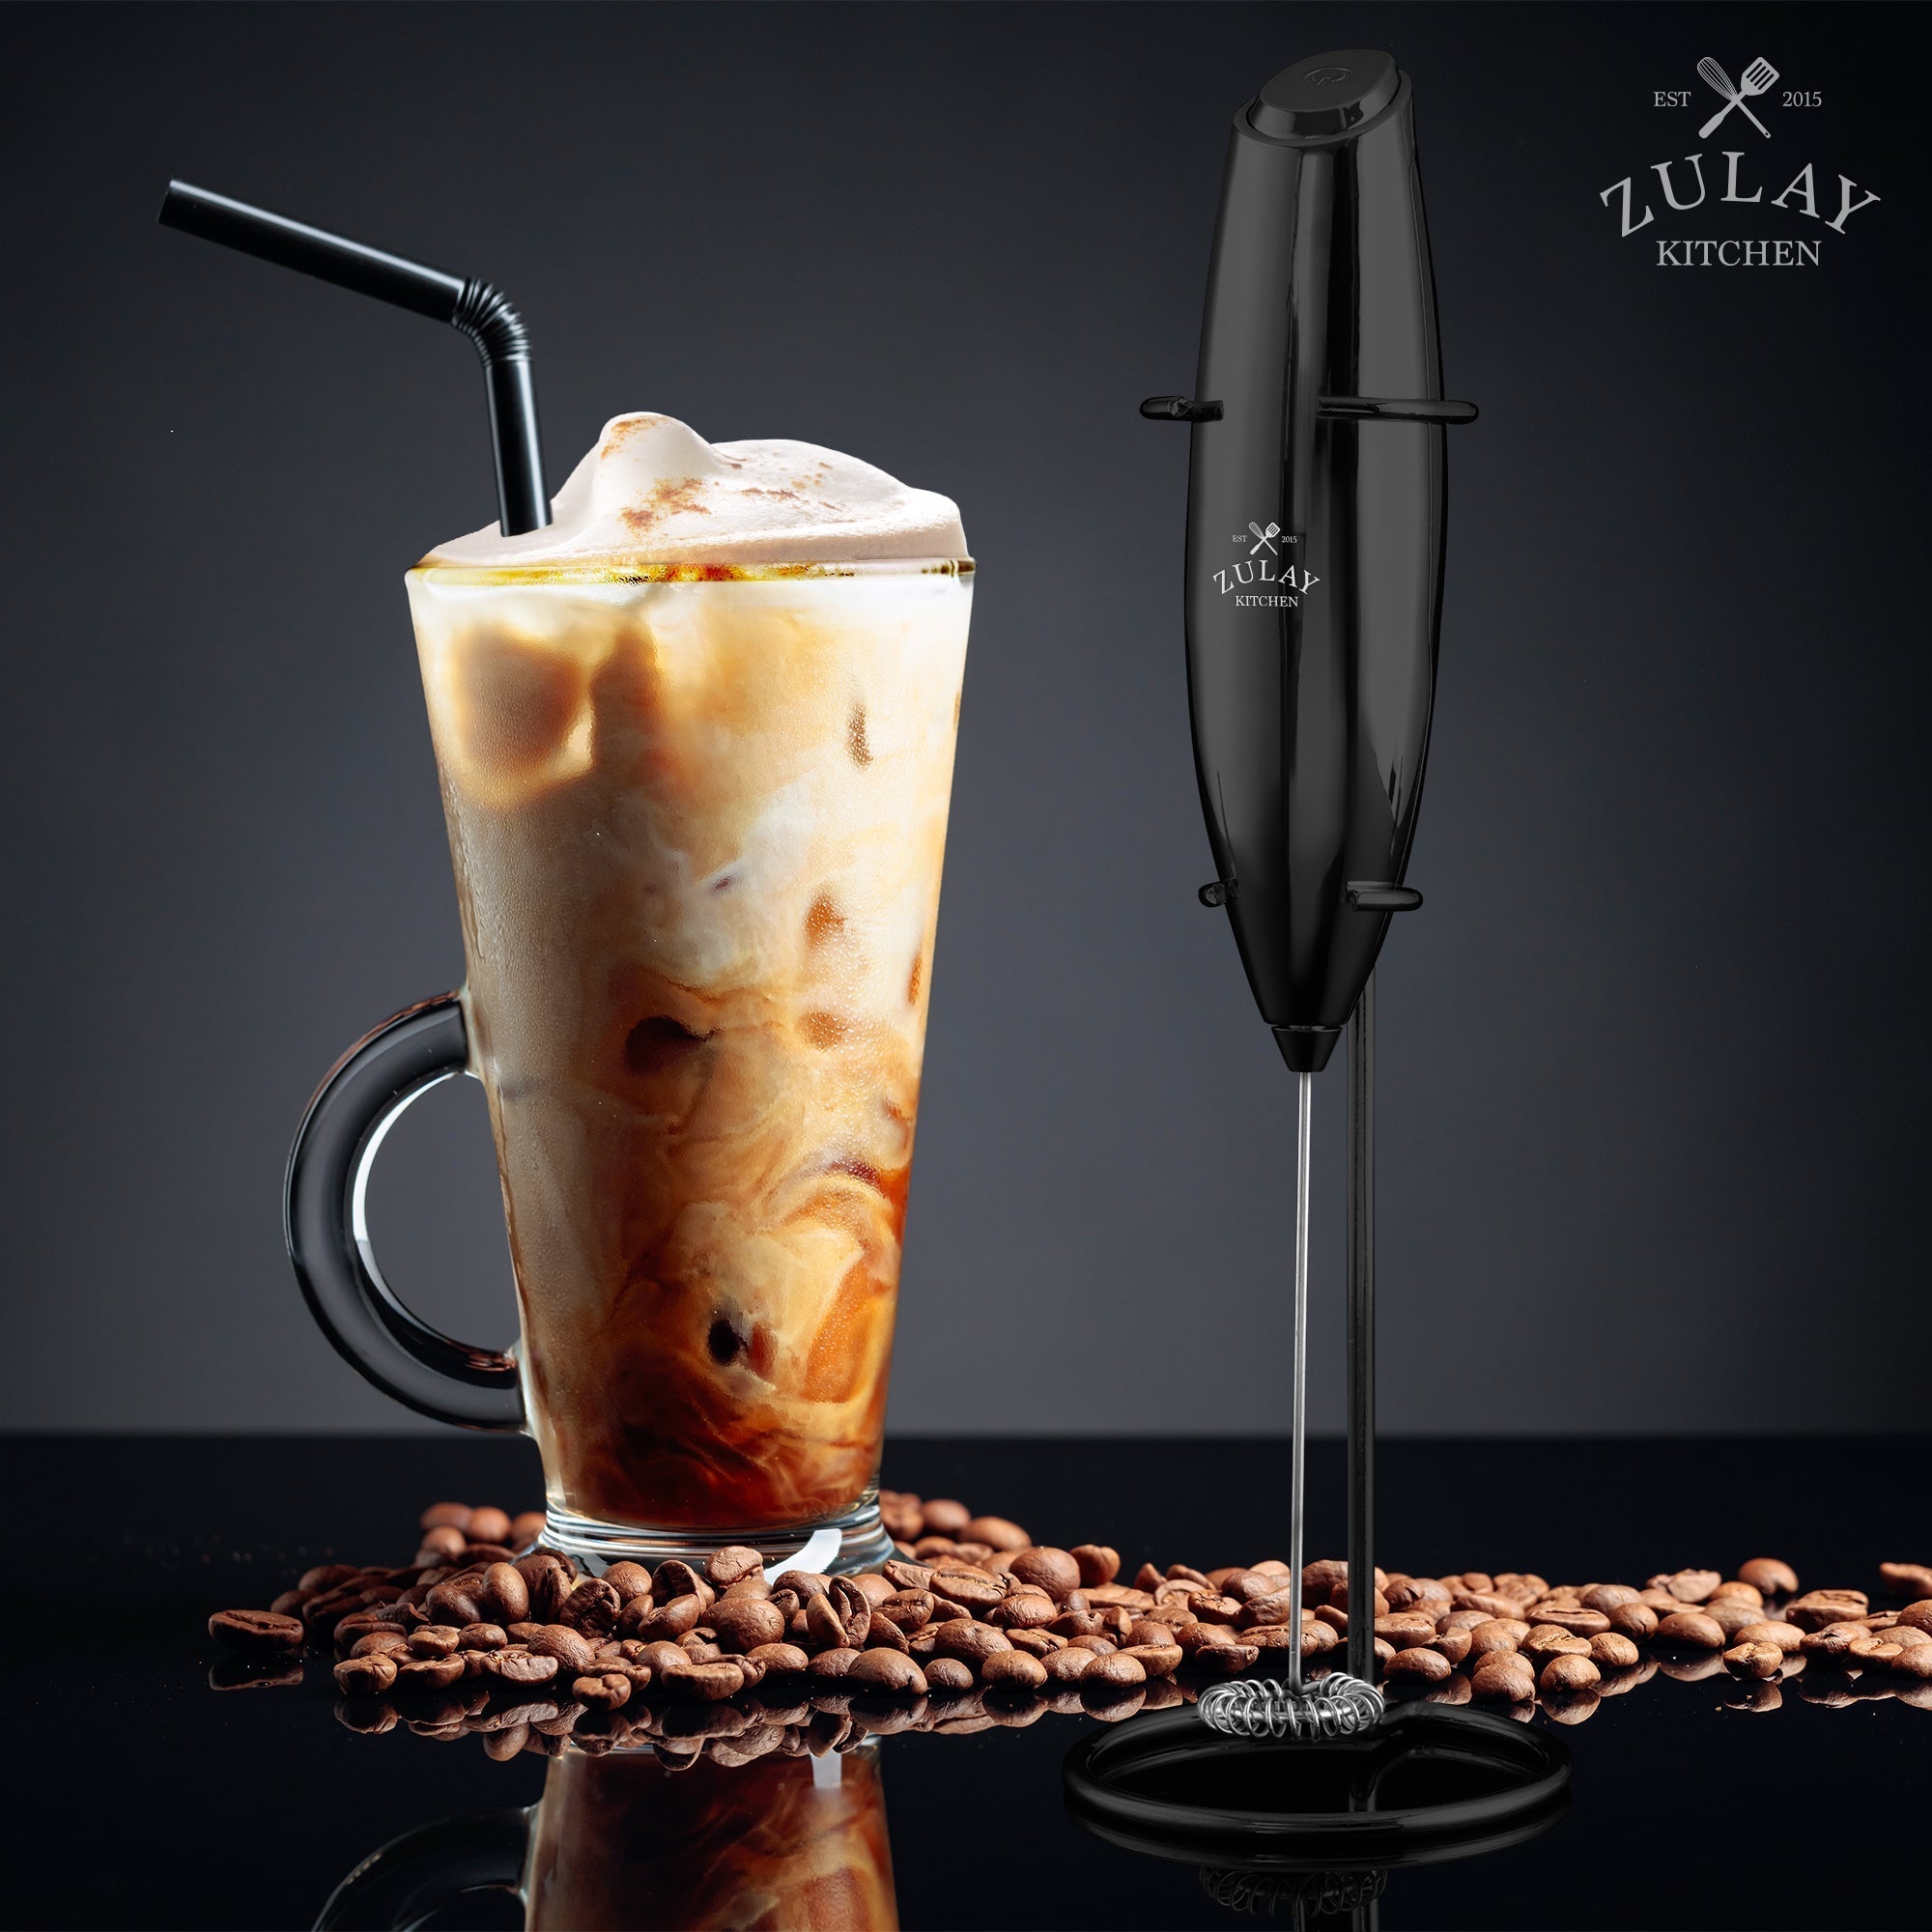
How to Make Milk Foam With a Frother
Milk foam is the secret ingredient that transforms an ordinary cup of coffee into a luxurious experience. If you're a fan of cappuccinos, lattes, or macchiatos, the creamy, airy texture of perfectly frothed milk can elevate your homemade coffee to café-quality heights.
In this comprehensive guide, we’ll delve into the art of making milk foam with a frother, exploring techniques, tips, and tricks to ensure you achieve barista-level results every time. But before we dive into the specifics of using a frother, it’s important to understand what milk froth is and why it’s so essential to your favorite coffee drinks. Milk froth is created by introducing air into milk, which forms tiny bubbles that give the milk a light, airy texture. This process changes the milk's texture and enhances its flavor, making it sweeter and more enjoyable.
The Science Behind Milk Frothing
Understanding the science behind milk frothing is beneficial for truly mastering the art. The process involves creating foam by incorporating air into the milk. The proteins in the milk stabilize the air bubbles, while the fat contributes to the creamy texture.

Protein and Foam Stability
Milk contains two main types of proteins: casein and whey. These proteins play a crucial role in stabilizing the foam. When milk is heated and aerated, the proteins unfold and form a network around the air bubbles, preventing them from collapsing.
The Role of Fat
Fat in milk contributes to the richness and creaminess of the foam. With its higher fat content, whole milk produces a more stable and creamy foam than skim milk. Non-dairy milk alternatives vary in fat content, affecting their frothing properties.
Lactose and Sweetness
Heating milk enhances its natural sweetness due to the presence of lactose, a type of sugar. However, overheating can cause the lactose to break down, leading to a burnt taste. This is why monitoring the temperature of the milk is essential for achieving the perfect froth.
Types of Milk Froth
There are two main types of milk froth:
-
- Microfoam: This is the smooth, velvety froth used for lattes and flat whites. It has a creamy texture with very small bubbles, making it perfect for creating latte art.
- Dry Foam: This is the thick, fluffy froth with larger bubbles that sits atop cappuccinos. It has a more airy texture and holds its shape well.
Each type of froth has its place in different coffee drinks, and knowing how to create both is key to mastering the art of milk frothing.
A Brief History of Milk Frothing
The tradition of frothing milk for coffee beverages has a rich history that dates back several centuries. To fully appreciate the art of milk frothing, it’s helpful to explore its origins and evolution.

@zulay_kitchen A little Cappuccino to start the day😎 #cappuccino #coffee #milkfrother #stopmotion #foryou #trending ♬ original sound - Zulay Kitchen
Early Beginnings
The practice of adding milk to coffee began in Europe during the 17th century. Initially, milk was added to coffee to temper its bitterness and enhance its flavor. The combination of milk and coffee quickly gained popularity, leading to the development of various coffee drinks.
The Invention of the Cappuccino
One of the most famous milk-based coffee drinks, cappuccino, originated in Italy. The name "cappuccino" is derived from the Capuchin friars, whose brown robes resembled the beverage's color. Cappuccino became popular in the early 20th century, and its distinct layer of frothy milk on top set it apart from other coffee drinks.
The Rise of Espresso Machines
The invention of the espresso machine in the late 19th century revolutionized coffee preparation. Espresso machines made it possible to brew strong, concentrated coffee quickly and featured steam wands for frothing milk. This innovation allowed baristas to create a variety of coffee drinks with frothed milk, including cappuccinos, lattes, and macchiatos.

The Modern Era of Coffee Culture
In the latter half of the 20th century, coffee culture underwent a significant transformation. The rise of specialty coffee shops and the popularity of espresso-based drinks led to a greater emphasis on milk frothing techniques. Baristas began to experiment with different types of milk and frothing methods, leading to the development of microfoam and latte art.
Today, milk frothing is an essential skill for any barista, and home coffee enthusiasts have also embraced the art of creating frothed milk. With modern frothers and espresso machines, anyone can achieve café-quality milk foam in their kitchen.
Choosing the Right Milk
The type of milk you use plays a crucial role in the quality of your milk foam. Here are some options to consider:

Whole Milk
Whole milk is the best choice for frothing. It has the right balance of fat, proteins, and lactose, which help create stable and creamy froth. The higher fat content in whole milk gives the foam a rich and smooth texture.
Low-Fat and Skim Milk
Low-fat and skim milk can also be frothed, but the resulting foam will be lighter and less creamy. The lack of fat makes it easier to froth, but the texture won't be as luxurious as whole milk.
Non-Dairy Milk
For those who prefer non-dairy options, several milk alternatives can be frothed successfully:
-
- Almond Milk: Creates a light and nutty foam but can be less stable than dairy milk.
- Soy Milk: Froths well and has a creamy texture, making it a good alternative to dairy milk.
- Oat Milk: Popular for its creamy texture and ability to create stable foam, oat milk is a favorite among baristas.
- Coconut Milk: Can create a rich and creamy foam, but the coconut flavor can be quite strong.
Selecting the Right Frother
Several types of frothers are available, each with its pros and cons. Here’s a breakdown of the most common options:

Handheld Frother
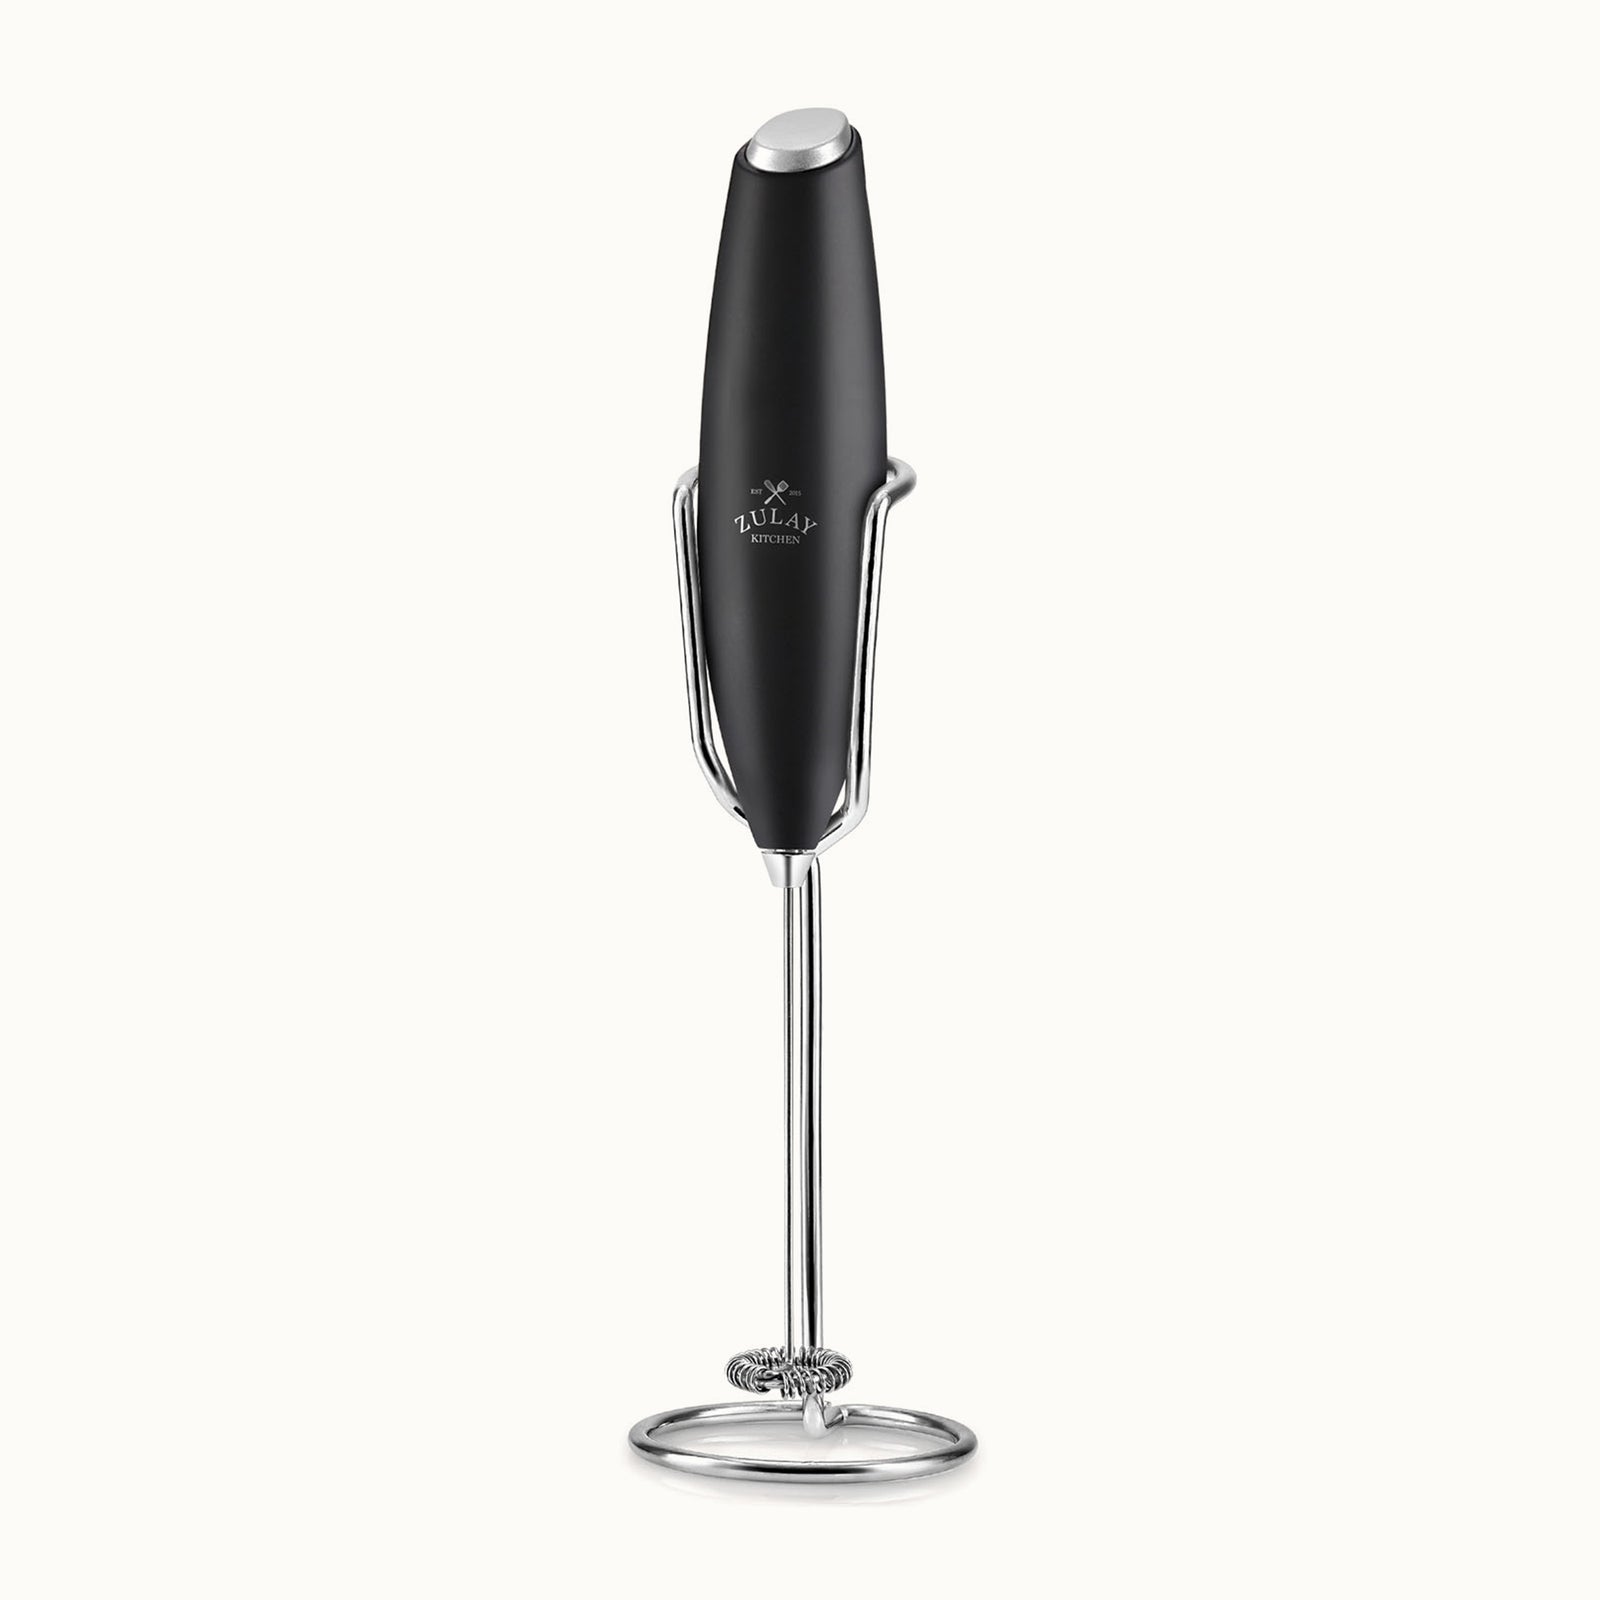
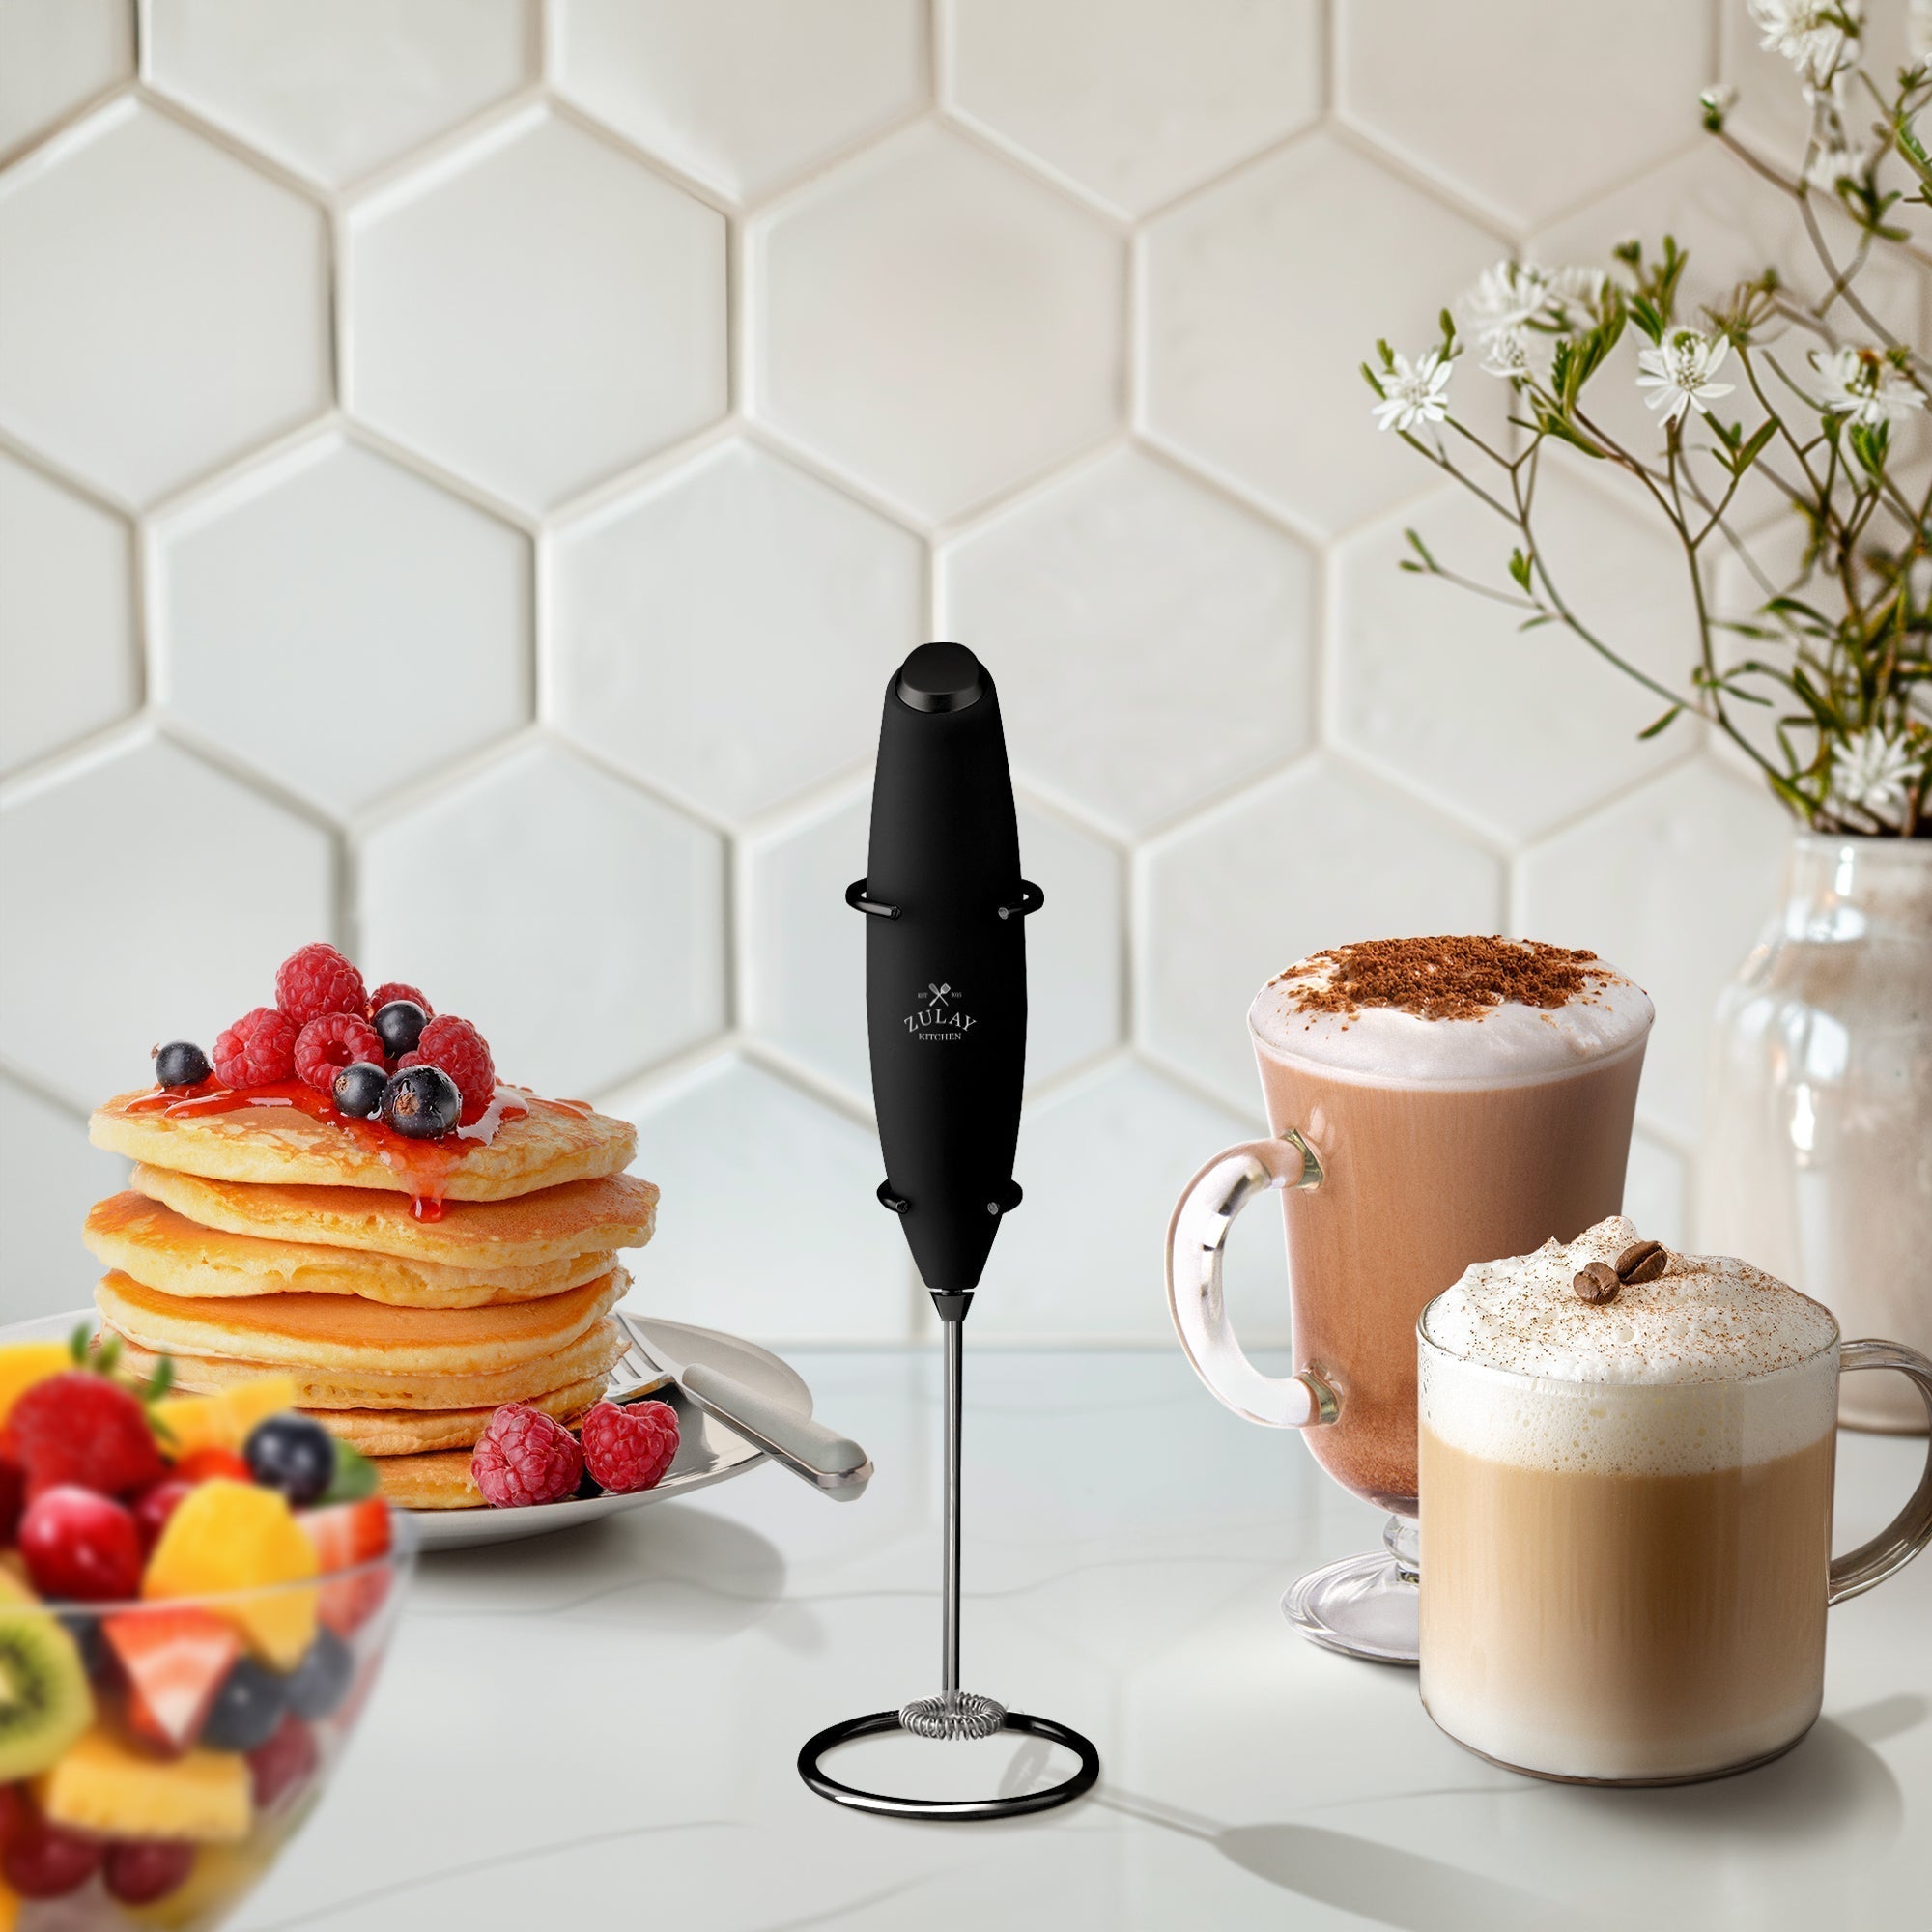
Handheld frothers are battery-operated devices with a whisk-like attachment. They are affordable, easy to use, and perfect for beginners. Simply immerse the whisk in the milk and turn it on to create foam.
Manual Frother
Manual frothers are pump-based devices that require you to pump a plunger to create froth. They are portable, don’t require electricity, and give you good control over the frothing process.
Electric Frother
Electric frothers are countertop appliances that can heat and froth milk at the touch of a button. They are convenient and often produce the best quality froth, but they can be more expensive and take up more space.
Steam Wand
Steam wands are built into espresso machines, and steam is used to froth milk. They require some practice to master but offer the most control and are the preferred choice for professional baristas.
Step-by-Step Guide to Frothing Milk
Now that you have the right milk and frother let’s dive into the step-by-step process of frothing milk.
1. Prepare Your Frother
If you're using an electric or manual frother, ensure it’s clean and assembled correctly. For handheld frothers, check that the batteries are fresh. If you’re using a steam wand, make sure your espresso machine is turned on, and the steam wand is clean.
2. Choose and Measure Your Milk
Pour cold milk into your frother or frothing pitcher. As a general rule, fill it to about one-third of its capacity to allow room for the milk to expand as it froths. Cold milk froths better than warm milk because it takes longer to reach the optimal temperature, giving you more time to create foam.

3. Froth the Milk
The frothing technique will depend on the type of frother you’re using:
-
- Handheld Frother: Submerge the whisk just below the surface of the milk and turn it on. Move it up and down gently to create foam. For microfoam, keep the whisk closer to the surface; for dry foam, immerse it deeper into the milk.
- Manual Frother: Pump the plunger vigorously for about 20-30 seconds until you see the desired amount of froth. For microfoam, use slower, more controlled pumps.
- Electric Frother: Simply press the button and let the frother do the work. Most electric frothers have settings for different types of foam.
- Steam Wand: Position the tip of the wand just below the surface of the milk and turn on the steam. Lower the pitcher slowly as the milk froths, keeping the wand near the surface to create foam. Tilt the pitcher slightly to create a whirlpool effect, which helps achieve a smooth microfoam.
4. Monitor the Temperature
Frothed milk should ideally be between 140°F and 155°F (60°C to 68°C). Use a thermometer to check the temperature, especially if you're new to frothing. Milk that is too hot will lose its sweetness and may scald, while milk that is too cold won’t have the right texture.
5. Incorporate the Froth
Once you’ve achieved the desired amount of froth, gently tap the frothing pitcher on the countertop to pop any large bubbles and swirl the milk to integrate the foam. This helps create a smooth, velvety texture.
6. Pour the Milk
Pour the milk into your coffee, holding back the froth with a spoon. Once the cup is nearly full, spoon the froth on top. If you're creating latte art, pour the milk slowly and steadily, allowing the microfoam to rise to the top and create intricate designs.

Tips for Perfect Milk Foam
-
- Use Fresh, Cold Milk: Always use fresh milk straight from the refrigerator. The colder the milk, the better it will froth.
- Clean Your Frother Regularly: A clean frother is essential for creating good-quality foam. Milk residue can clog your frother and affect the texture of the foam, so be sure to clean it thoroughly after each use.
- Practice Makes Perfect: Frothing milk is an art that takes practice. Don’t be discouraged if your first few attempts aren’t perfect. With time and practice, you’ll develop the skills needed to create barista-quality foam.
- Experiment with Different Milks: Try different types of milk to see which one you prefer. Each type of milk froths differently, and you might find that you prefer the texture and flavor of one over the others.
- Use the Right Frothing Technique: Different frothing techniques produce different results. Experiment with the position of your frother and the angle of your pitcher to find the technique that works best for you.
Common Frothing Mistakes and How to Avoid Them
-
- Overheating the Milk: Milk that is too hot will lose its sweetness and can become scalded, resulting in a burnt taste. Use a thermometer to ensure your milk stays within the ideal temperature range.
- Not Using Enough Milk: If you don’t use enough milk, you won’t have enough liquid to create foam. Always start with at least one-third of your frothing pitcher filled with milk.
- Using Old or Warm Milk: Old or warm milk doesn’t froth as well as fresh or cold milk. Always use milk that is fresh and straight from the refrigerator.
- Not Cleaning the Frother: A dirty frother can affect the quality of your foam. Clean your frother thoroughly after each use to prevent milk residue from building up.

Creative Uses for Milk Foam
Milk foam isn’t just for coffee. Here are some creative ways to use frothed milk:
-
- Hot Chocolate: Add a luxurious touch to your hot chocolate by topping it with a generous layer of milk foam. It adds a creamy texture and makes the drink feel extra indulgent.
- Tea Lattes: Create a tea latte by frothing milk and adding it to your favorite tea. Chai tea, matcha, and Earl Grey are popular choices for tea lattes.
- Desserts: Use milk foam to add a creamy, airy texture to desserts like puddings, custards, and even ice cream.
- Milkshakes: Froth milk before adding it to your milkshake to create a lighter, fluffier texture.
Further Exploration: Latte Art
Once you’ve mastered the basics of milk frothing, you can take your skills to the next level by learning latte art. Latte art involves creating designs on the surface of your coffee using microfoam. Here’s a brief introduction to get you started:

The Basics of Latte Art
Latte art requires precise pouring techniques and a steady hand. The most common designs are the heart, rosette, and tulip. Each design involves specific pouring motions to create the desired pattern.
Tools for Latte Art
In addition to a frothing pitcher and steamed milk, you’ll need a needle or latte art tool to refine your designs. Some baristas also use food coloring to create multi-colored patterns.
Practice Makes Perfect
Creating latte art takes practice and patience. Start with simple designs and gradually work your way up to more complex patterns. Don’t be discouraged if your first attempts aren’t perfect—even professional baristas spend years perfecting their latte art skills.
Resources for Learning
Numerous online resources, including video tutorials and forums, allow you to learn from experienced baristas and share your progress. Consider taking a latte art workshop or class to get hands-on experience and personalized feedback.
Final Thoughts
By understanding the history, science, and techniques of milk frothing, you’ll be well on your way to mastering this essential barista skill. Whether you’re frothing milk for a classic cappuccino, a creative tea latte, or a decadent dessert, the knowledge and skills you’ve gained will enhance your coffee experience and impress your friends and family. Happy frothing!
@zulay_kitchen Iced Shaken Espresso #shakenespresso #fyp #trending #espresso #coffee #coffeetiktok #tiktokshopblackfriday #tiktokshopcybermonday ♬ bounce (i just wanna dance) - фрози & joyful
Frequently Asked Questions
Can I froth non-dairy milk?
Yes, you can froth non-dairy milk such as almond, soy, oat, and coconut milk. Each type of non-dairy milk froths differently, so you may need to experiment to find the one that works best for you.
Why is my milk not frothing properly?
There are several reasons why your milk might not be frothing properly. Ensure that you are using fresh, cold milk and that your frother is clean. If using a steam wand, ensure the steam tip is properly positioned just below the surface of the milk.
What is the ideal temperature for frothed milk?
The ideal temperature for frothed milk is between 140°F and 155°F (60°C to 68°C). Use a thermometer to monitor the temperature and avoid overheating, which can cause the milk to taste burnt.
Can I froth milk without a frother?
You can froth milk without a frother by using alternatives such as a French press, a jar with a lid, or a whisk. However, using a frother will give you the best results in terms of texture and consistency.
How do I clean my frother?
To clean your frother, rinse the whisk or frothing wand immediately after use to remove milk residue. For electric frothers, follow the manufacturer's instructions for cleaning. Most parts are typically removable and dishwasher-safe.
Why is my frothed milk separating?
Milk separation can occur if the milk is overheated or if the foam is not properly integrated into the liquid milk. Ensure that you monitor the temperature and gently swirl the milk to integrate the foam before pouring.
What is the difference between a cappuccino and a latte?
A cappuccino typically has a higher ratio of froth to milk, resulting in a thicker layer of dry foam on top. A latte, on the other hand, has a larger amount of steamed milk with a thin layer of microfoam.
Can I froth flavored milk?
Yes, you can froth flavored milk, but the added ingredients may affect the texture of the foam. It is best to froth plain milk first and then add flavorings such as syrups or powders afterward.
How do I create latte art?
To create latte art, start by frothing milk to achieve microfoam. Pour the milk slowly into the center of the espresso, moving the pitcher in small, controlled motions to create patterns such as hearts, rosettes, or tulips. Practice and patience are key to mastering latte art.
Is there a difference between frothing hot and cold milk?
Yes, there is a difference. Hot milk froths more easily and creates a smoother, creamier texture. Cold milk can be frothed but will have a lighter, less stable foam. Always start with cold milk and froth it to the desired temperature for best results.




Leave a comment
This site is protected by hCaptcha and the hCaptcha Privacy Policy and Terms of Service apply.