


How to Froth Milk Without a Milk Frother
Are you a cappuccino lover who loves a rich, creamy foam on top of your coffee every morning? Are you a regular coffee drinker who can’t live without a good homemade latte? Or are you simply someone looking to upgrade your daily coffee routine this year? Whatever type of coffee person you are, you’ve come to the right place! Today, we’re gonna teach you how to make a homemade latte without a Milk Frother!
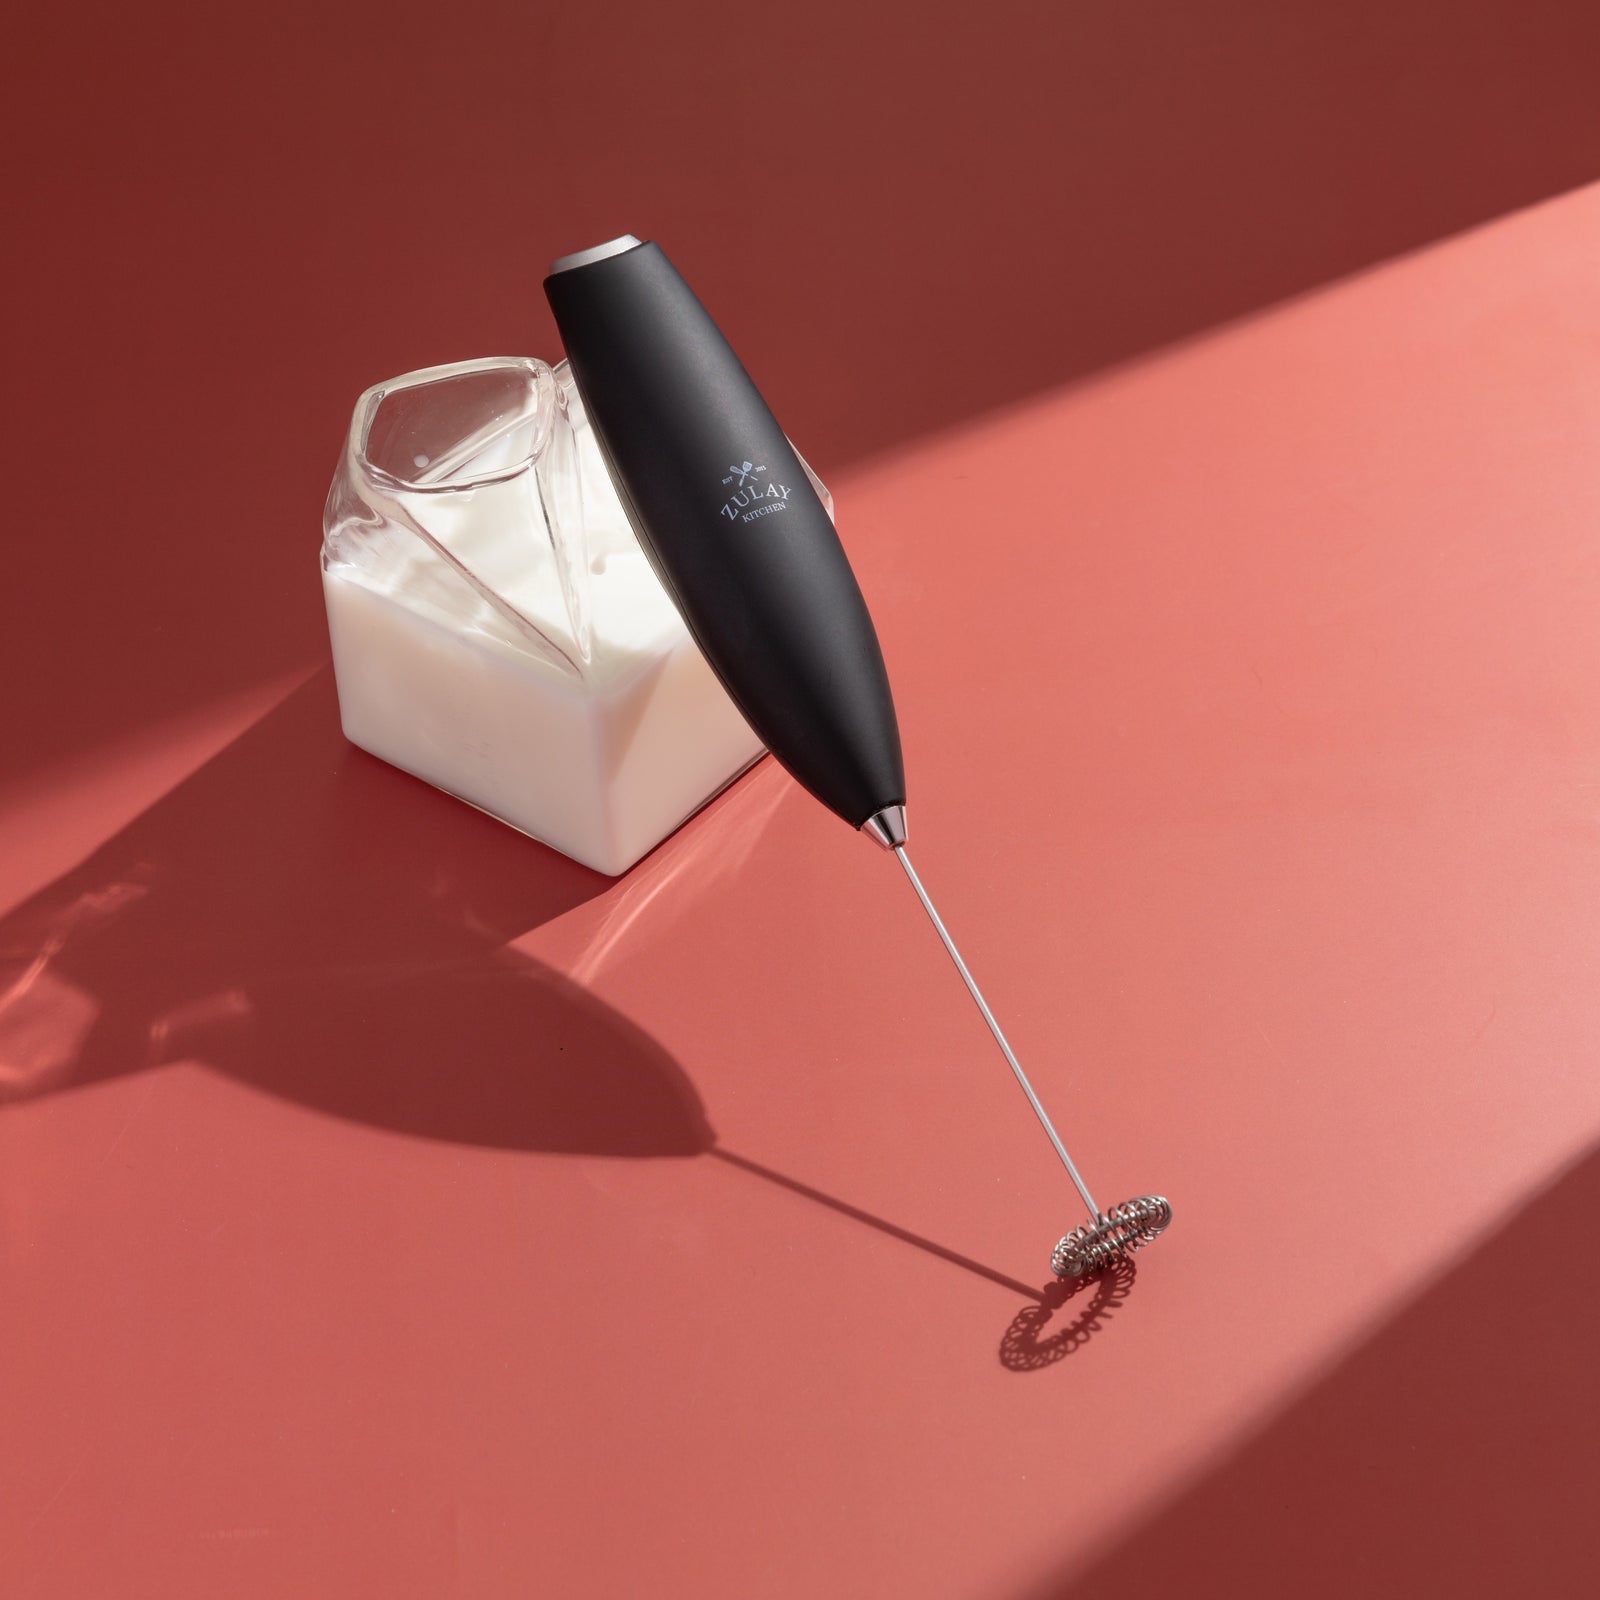
If you spend time on social media every day, you might notice a certain kitchen gadget everywhere, and we mean, everywhere. This device is called a Milk Frother, also known as a hand blender or foam maker. People use it to make delicious lattes, amazing cafe-style drinks, and even to mix their protein powders. It truly works wonders on your favorite beverages by making your milk extra frothy! Just like whipped cream!
So, if you’re wondering if you can do all that without one, the answer is YES! In this blog, we’re gonna help you achieve the same results by giving you the best tips on how to froth milk without the use of a milk frother or going to a cafe, so you can enjoy a delicious milk foam at home! However, before we delve into the actual techniques, we must first understand the ingredient at the heart of this ritual: milk.
Why Milk Froths (And Why Some Milks Froth Better)
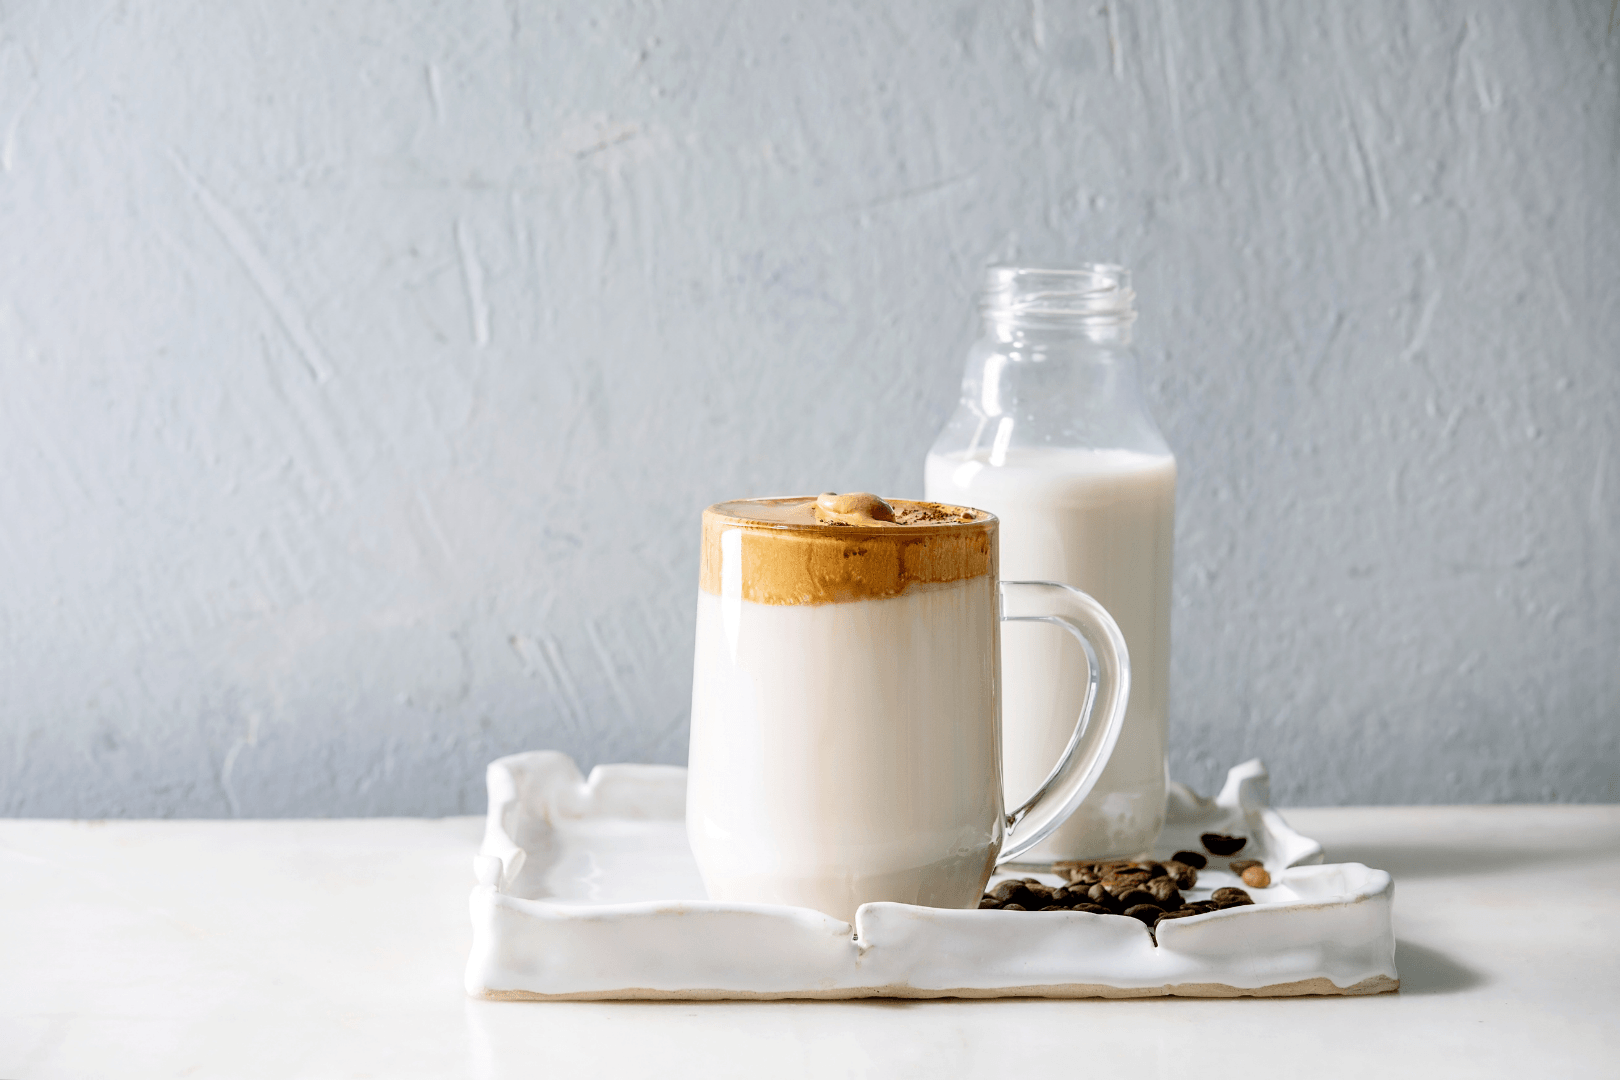
Milk foam is just a beautiful alliance of air, liquid, and proteins. When you heat milk and incorporate air, the proteins stretch to create tiny bubbles that form a stable foam layer. The creamier the milk, the more luxurious the foam.
This is why whole milk “froths up” so effortlessly, why skim milk produces large bubbles, and why almond milk sometimes collapses faster than our New Year’s resolutions. Here’s a quick rundown of how different milks behave when frothed:
|
Milk Type |
Froth Result |
Notes |
|
Whole cow’s milk |
Thick, creamy foam |
Best for latte art |
|
2% milk |
Light but stable foam |
Café classic |
|
Skim milk |
Large bubbly foam |
Less creamy mouthfeel |
|
Oat milk (barista blends) |
Very creamy & stable |
Best dairy-free option |
|
Soy milk |
Stable foam |
Good for cappuccinos |
|
Almond milk |
Delicate foam |
Varies by brand |
|
Coconut milk |
Hard to foam |
Low protein = low stability |
If you’re trying to replicate coffee shop drinks at home, barista oat milk is basically the golden child of dairy-free foam.
The Temperature Rule That Makes or Breaks Milk Foam
The secret behind excellent milk foam isn’t just the tool you use; it’s the temperature. This is the step home brewers skip the most, and it’s the silent reason their “DIY latte” never quite looks like the TikTok videos or Pinterest photos. Frothing milk at the right temperature is what separates a sad bubble bath from the creamy microfoam you get in cappuccinos and lattes.
The ideal temperature for frothing milk is 60–68°C (140–155°F).
This is the “stretch zone” where milk proteins unwind and wrap around air bubbles, trapping them and creating a stable, glossy foam. It’s also where the natural sweetness of milk comes forward. Here’s what happens outside that sweet spot:
When the Milk Is Too Cool (Below ~55°C / 130°F)
- The proteins stay tight and rigid
- Air bubbles slip right through instead of getting trapped
- Foam becomes thin, weak, or collapses instantly
- Texture tastes “watery” instead of creamy
This is why cold milk frothing works for iced lattes, but requires a different technique and expectation.
When the Milk Overheats (Above ~70°C / 160°F)
- The proteins start to denature and break down
- Existing foam can collapse or split
- Flavor loses its delicate sweetness and becomes flat
- Milk can scorch, creating bitterness or a cooked taste
Once milk crosses this threshold, no tool can save it, not even a café steam wand.
3 Easiest Ways to Froth Milk Without a Milk Frother

Method 1: The Jar Shake
If you’re searching “how to froth milk without a frother Reddit style” or “frothed milk with no equipment,” this is the classic hack.
How it works:
- Pour warm milk into a microwave-safe glass jar.
- Screw the lid tightly.
- Shake vigorously for 30–60 seconds until the milk expands.
- Remove lid.
- Microwave for 20–30 seconds to stabilize.
- Pour and serve.
Best for:
- Lattes
- Hot chocolate
- Iced coffees (skip microwave)
Limitations:
Bubbles are larger than café-quality foam, but still delicious.
Method 2: Using a Blender
This is one of the most reliable ways to make frothed milk at home without a frother.
How to do it:
- Heat your milk.
- Pour into a blender.
- Blend on medium until frothy.
- Pour into your coffee or espresso.
If you have a portable blender, this doubles as a milk frother alternative for travel or office coffee-making.
Method 3: French Press Frothing
If you’ve ever wondered why baristas love French presses for frothing, it’s because they simulate the pumping action of a manual frother.
How to do it:
- Heat milk and pour into a clean French press.
- Leave space for milk to expand.
- Pump plunger up and down for 20–30 seconds.
- Scoop or pour foam onto coffee.
This method creates foam worthy of cappuccino proportions. You also get better control over density, which matters if you’re practicing latte art or making flat whites.
Bonus Method: Frothing Without Heat
A lot of people don’t realize cold milk can froth, too.
For iced coffee lovers:
- Use a jar or cold-rated French press.
- Shake or pump until foamy.
- Pour over iced coffee.
Works great for:
- Iced matcha lattes
- Cold brew
- Iced chai
- Iced lattes

Why Your Milk Won’t Froth
If your milk foam keeps collapsing, turning bubbly instead of creamy, or refusing to form altogether, don’t panic. It usually isn’t your fault, and it definitely isn’t the universe conspiring against your morning latte.
The most common culprits are temperature and protein content. If the milk is too cold, the proteins can’t stretch enough to trap air; if it’s overheated or scorched, they break down and lose the ability to hold foam. Low-protein milks (like coconut or thin almond milks) also struggle to create stable bubbles compared to whole milk, oat milk, or barista blends. Another overlooked issue is overfilling the jar, blender, or French press, leaving no space for air to circulate and inflate bubbles. Finally, make sure your tools are clean. Lingering oils or fats coat the proteins and kill foam stability instantly, even if every other variable was perfect. Fixing just one of these factors can completely change your frothing results at home.
Final Thoughts
And that’s the beauty of it. You don’t need an espresso machine, a café counter, or a milk frother to enjoy silky latte foam at home. With a jar, a blender, or a French press, you can replicate the same slow, luxurious ritual that coffee lovers have been chasing for years. Once you learn how milk behaves, how temperature affects foam, and how different tools shape texture, you unlock a whole new layer of creativity in your coffee routine.
If you’re ready to level up your setup, you can explore our Coffee Collection, featuring portable blenders, espresso tools, and especially milk frothers that are made specifically for at-home baristas. And if you’re hunting for inspiration, techniques, or flavor ideas, our recipe blog is packed with homemade latte recipes, coffee drink guides, and brewing tips designed to help you make better coffee at home, one cup at a time.


1 comment
You guys are amazing…offering a frothing method that does not promote your product! I have been using your frothers for a long time to bring my wife a latte in bed every morning, and I keep an extra frother in our camper so I don’t miss a day.
But when we go visiting overnight to our kids’ homes, I always forget to take the frother…and I have used both the “shake in a jar” and french press methods, finishing in the microwave.
I really like the rechargeable version, as plugging it in once a week is so much easier (and less expensive that changing batteries!) I’m about to buy another rechargeable frother to keep in my overnight bag!
Your customer service and ridiculous lifetime warranty are the best!!
Peace.
chuck lamar
Leave a comment
This site is protected by hCaptcha and the hCaptcha Privacy Policy and Terms of Service apply.