


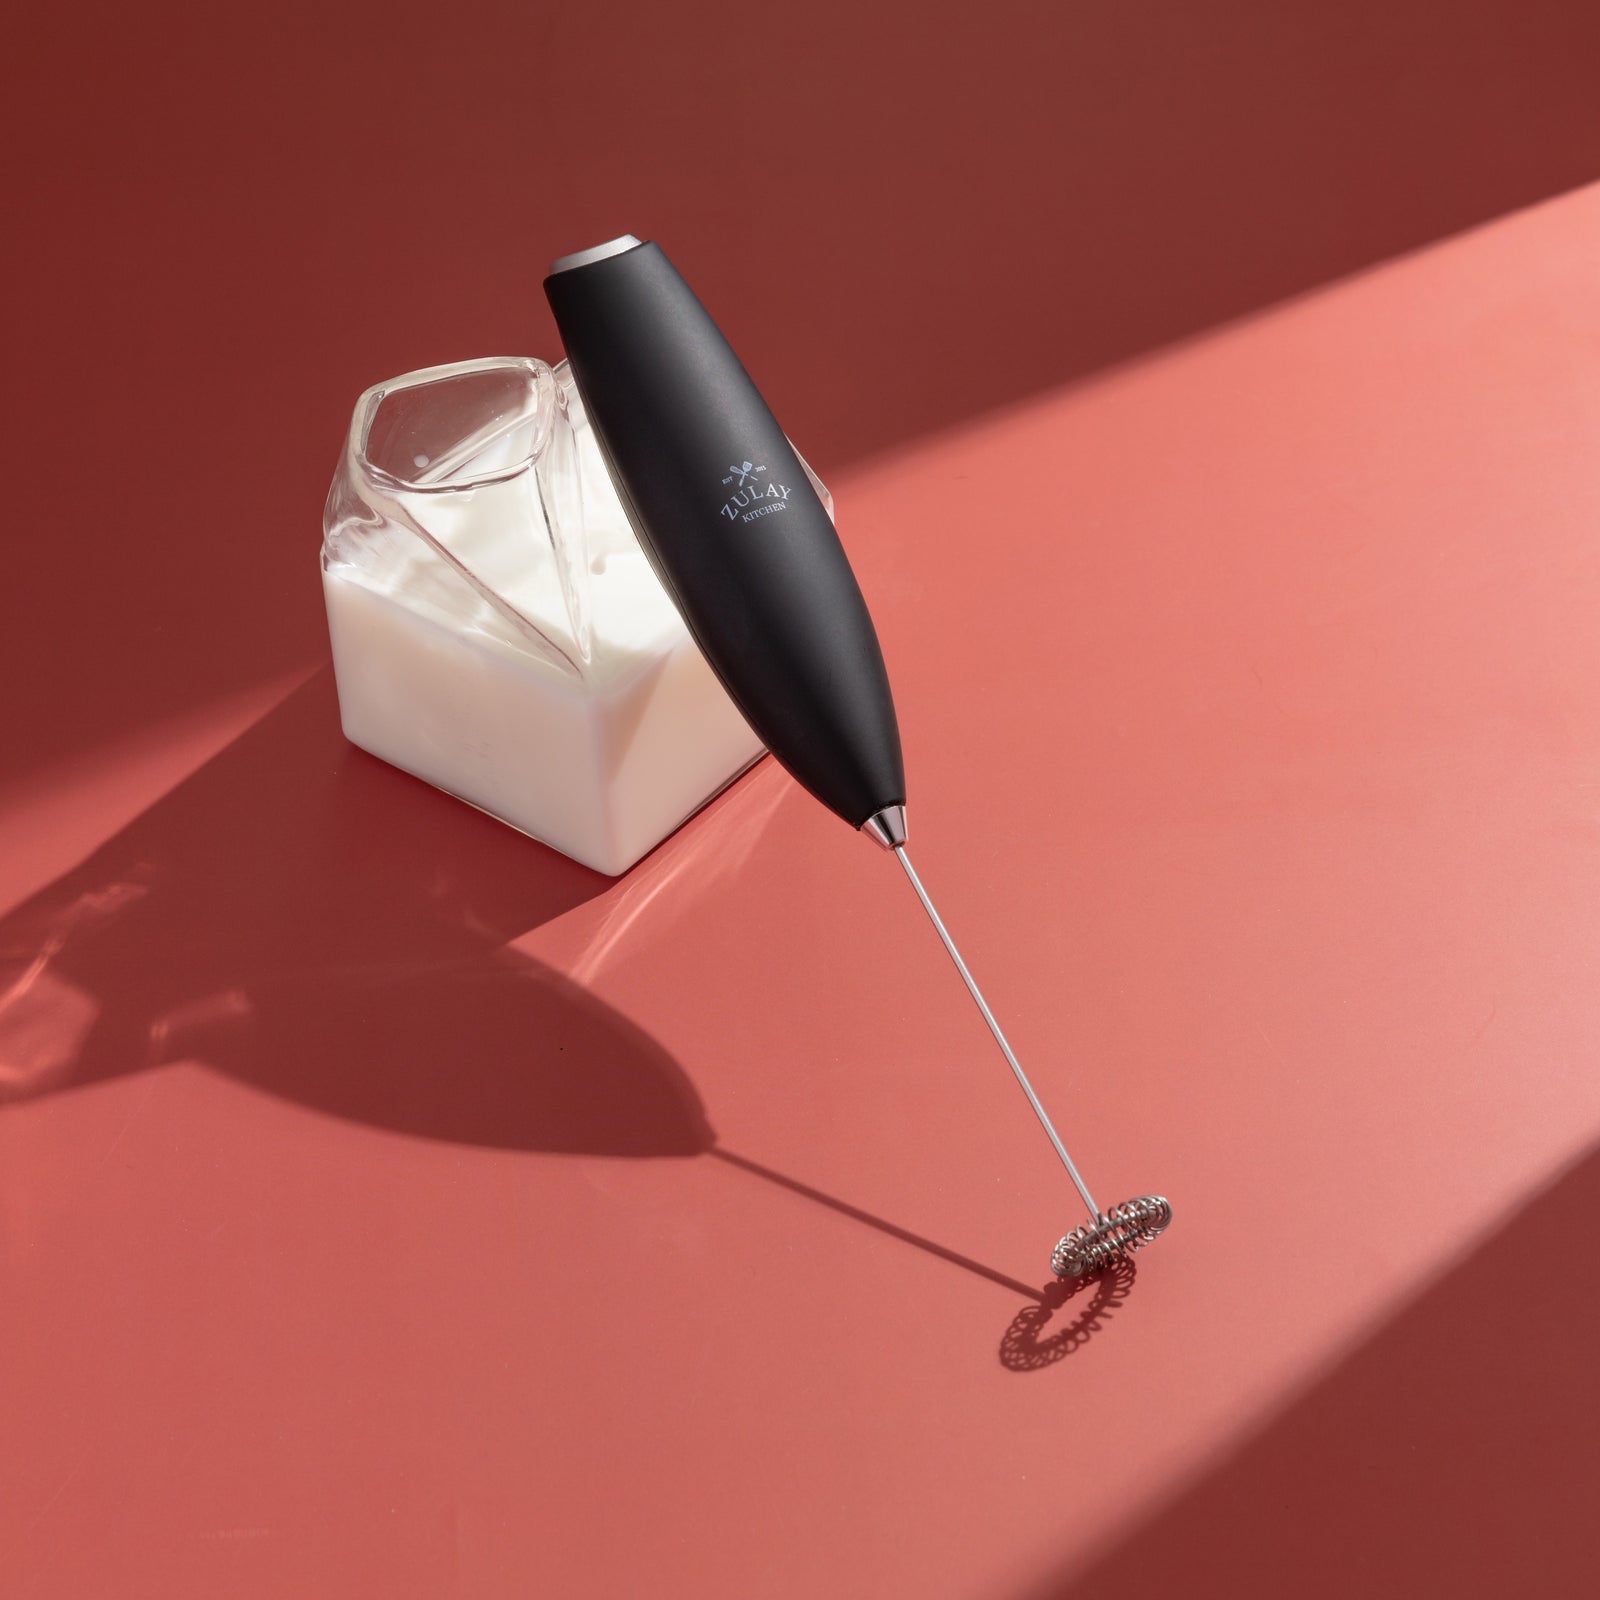


How To Use A Milk Frother
Who doesn't love a tasty froth?!
I mean there's nothing more delicious than cappuccinos, mochas or lattes and that first sip of sweet, creamy foam from the top of your coffee. Regardless of whether you like cashew milk, whole milk, almond milk, soy milk or any creamy dairy addition to your coffee, tea or espresso, a milk frother is for you.
In this article, you'll learn how to use a milk frother to create your own cappuccinos, mochas or lattes at home and become the barista in your life. Foamed milk is a delicious and creamy frothy delight when added to any espresso, coffee or tea of your choice.
The Science Behind Great Foam
Before learning how to use a milk frother, it helps to understand what froth actually is. Foamed milk is simply milk that has been aerated. Meaning air has been incorporated into the liquid to create tiny bubbles. These bubbles collect on the surface and form a light, creamy foam that adds texture, aroma, and visual appeal to drinks like lattes, cappuccinos, and espresso-based beverages.

What makes great foam is how that air interacts with milk proteins and fats. When milk is frothed correctly, its proteins stretch and trap air, while the fats add richness and stability. This balance is what creates smooth microfoam instead of large, dry bubbles.
Cold Milk vs. Hot Milk: What’s the Difference
Milk can be frothed either cold or hot, and each method serves a different purpose.
For cold milk frothing, temperature is critical. Milk should be very cold, like straight from the refrigerator, for the best results. Colder milk holds air more effectively, resulting in thicker, more stable foam. Using milk within five days of opening also helps ensure optimal protein structure and better froth.

When frothing hot milk, precision matters. The ideal temperature range is between 150°F and 155°F. At this point, milk proteins are flexible enough to trap air without breaking down. If milk overheats or reaches a boil, those proteins collapse, resulting in flat, thin foam and an unpleasant cooked flavor. Once milk boils, it won’t froth properly, and the texture cannot be salvaged.
Understanding these fundamentals makes using a milk frother far more predictable. When you control temperature and technique, consistently smooth and creamy foam becomes easy.
How to Use A Milk Frother

1. Choose your milk drink or type of milk and add it to a container large enough to swirl and have room for the froth to "grow".
2. Always pour approximately one-half to one-quarter cup of milk into the container you are going to use to froth the milk. This is because, during the frothing process, the milk may rise to the rim and overflow.
3. Insert the milk frother into the milk. Turn it on. Be sure to turn it on when you have inserted it into the milk to avoid splashing.
4. Move the milk frother slowly and move it up and down gently, but avoid rapid movements. Also, you will need to bring the milk frother all the way to the top so that it absorbs the ambient air and gets a perfect layer of foam.
The exact time will vary, but at a minimum, count on doing it for 25-30 seconds.The longer you submerge it, the more the milk will foam.
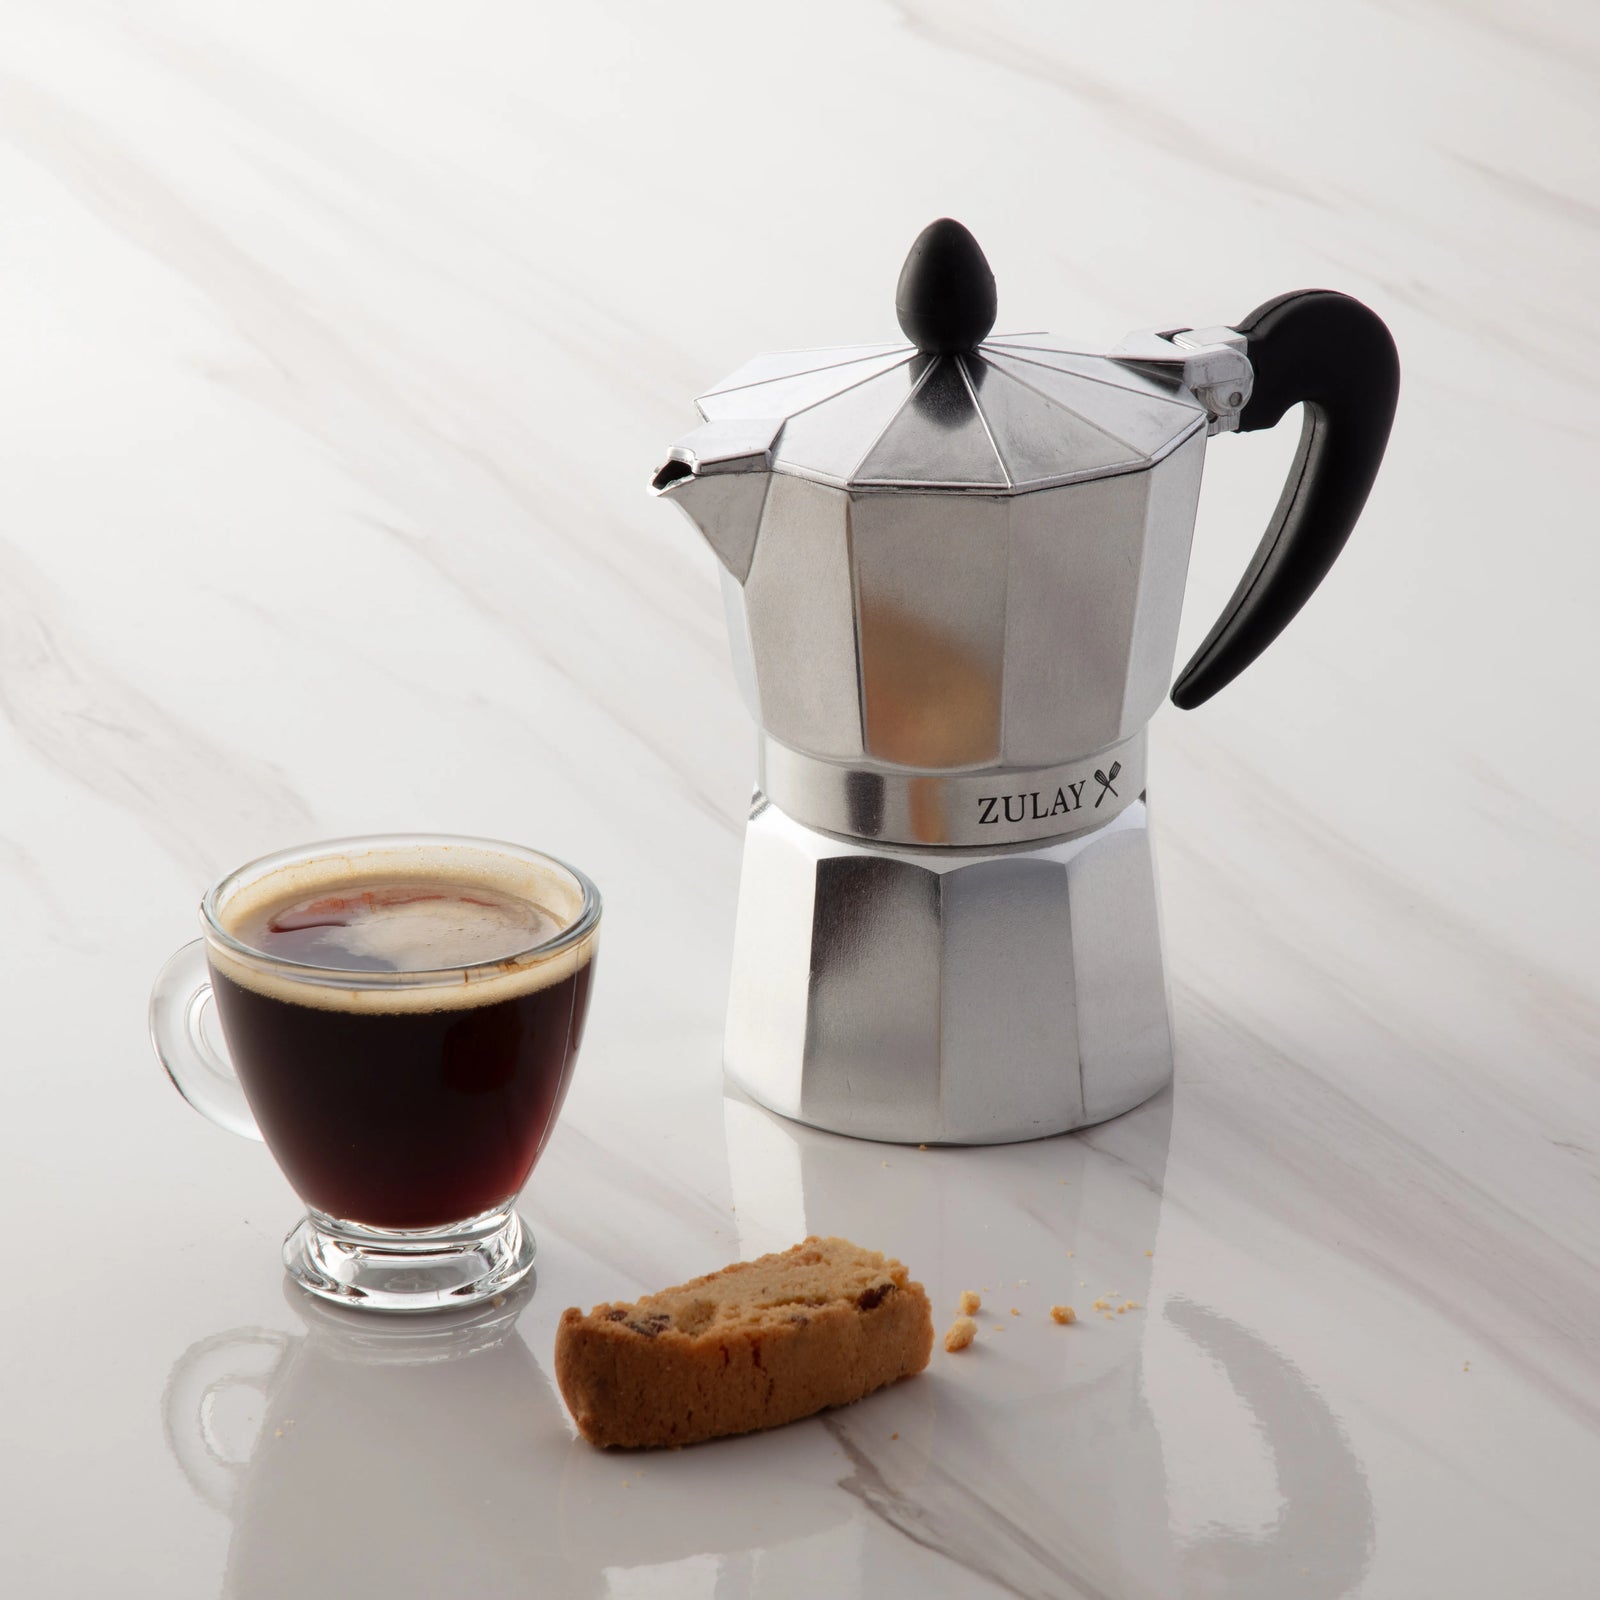
5. Pour it into your drink when it's ready and enjoy a frothy cup of coffee.
Final Thoughts
And if you're looking for your milk frother (yes, that's right!), buy it today by entering our coffee collection. You can also check out our recipe blogs for the best homemade latte recipes and other coffee drinks to make at home.


Leave a comment
This site is protected by hCaptcha and the hCaptcha Privacy Policy and Terms of Service apply.